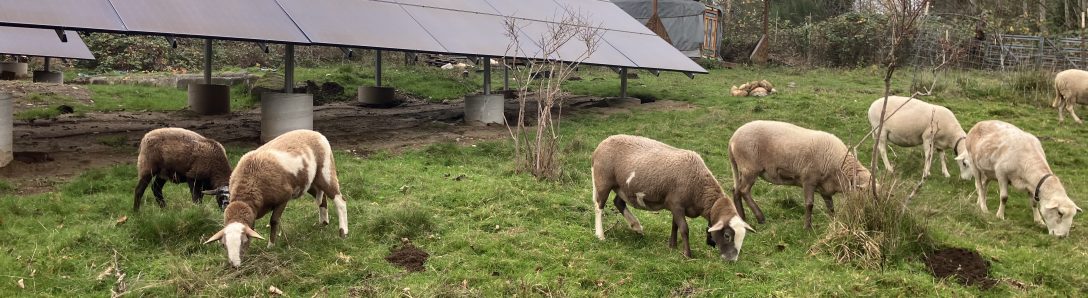
There are a few simple breakdown moves in butchering any four legged animal. I’ve worked with deer, sheep, and goat carcasses most often; I’m also familiar with cattle, pigs, and smaller game animal butchering. Today I’m working with a ram carcass. You’re taking one big thing and breaking it down into a lot of smaller yummy feasts all with a sharp knife, some focused cuts, and a lot of good learning.
As you look over the condition of this animal, there are 4 general shapes to keep in mind-
Shoulders- two front legs and shoulders, which lift off the rib cage
Neck and Rib Cage- I find it’s easier to remove the neck off rib-cage once detached from hind end
Loin- usually with a sheep, I keep the section with lion and back-strap as one large package roast for optimal enjoyment of some of the best cuts. With a band saw, you can cut this section into fancy chops if you like.
Butt and Hocks- you’ve got the tail, hips, and largest leg bones all in one package
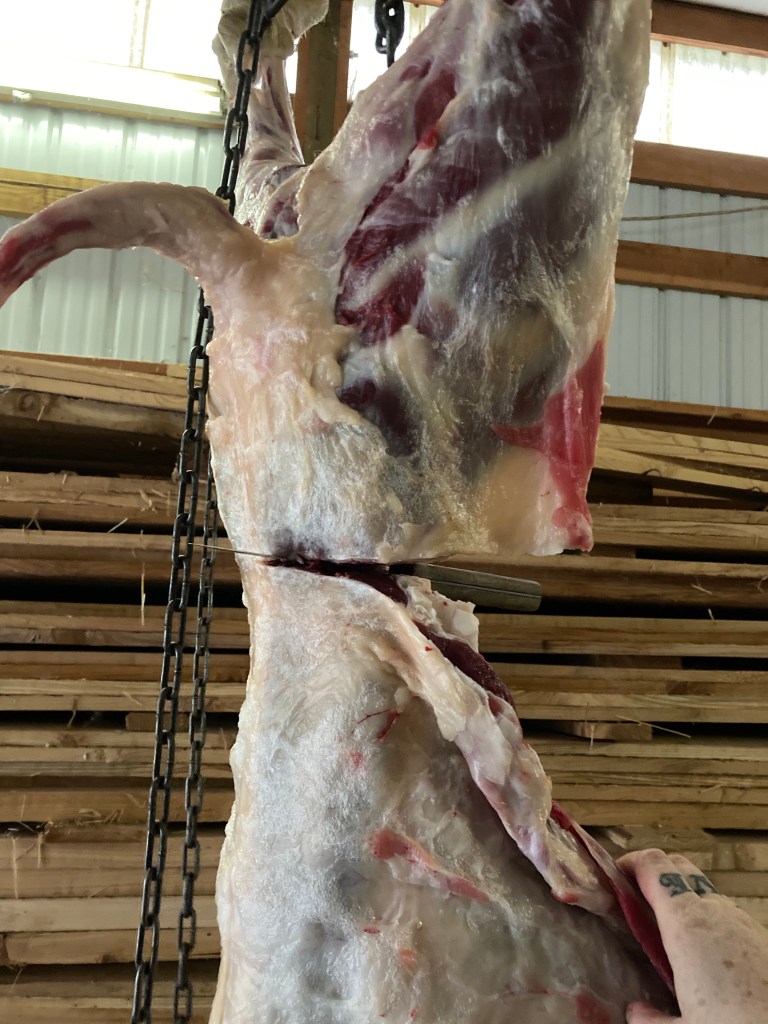

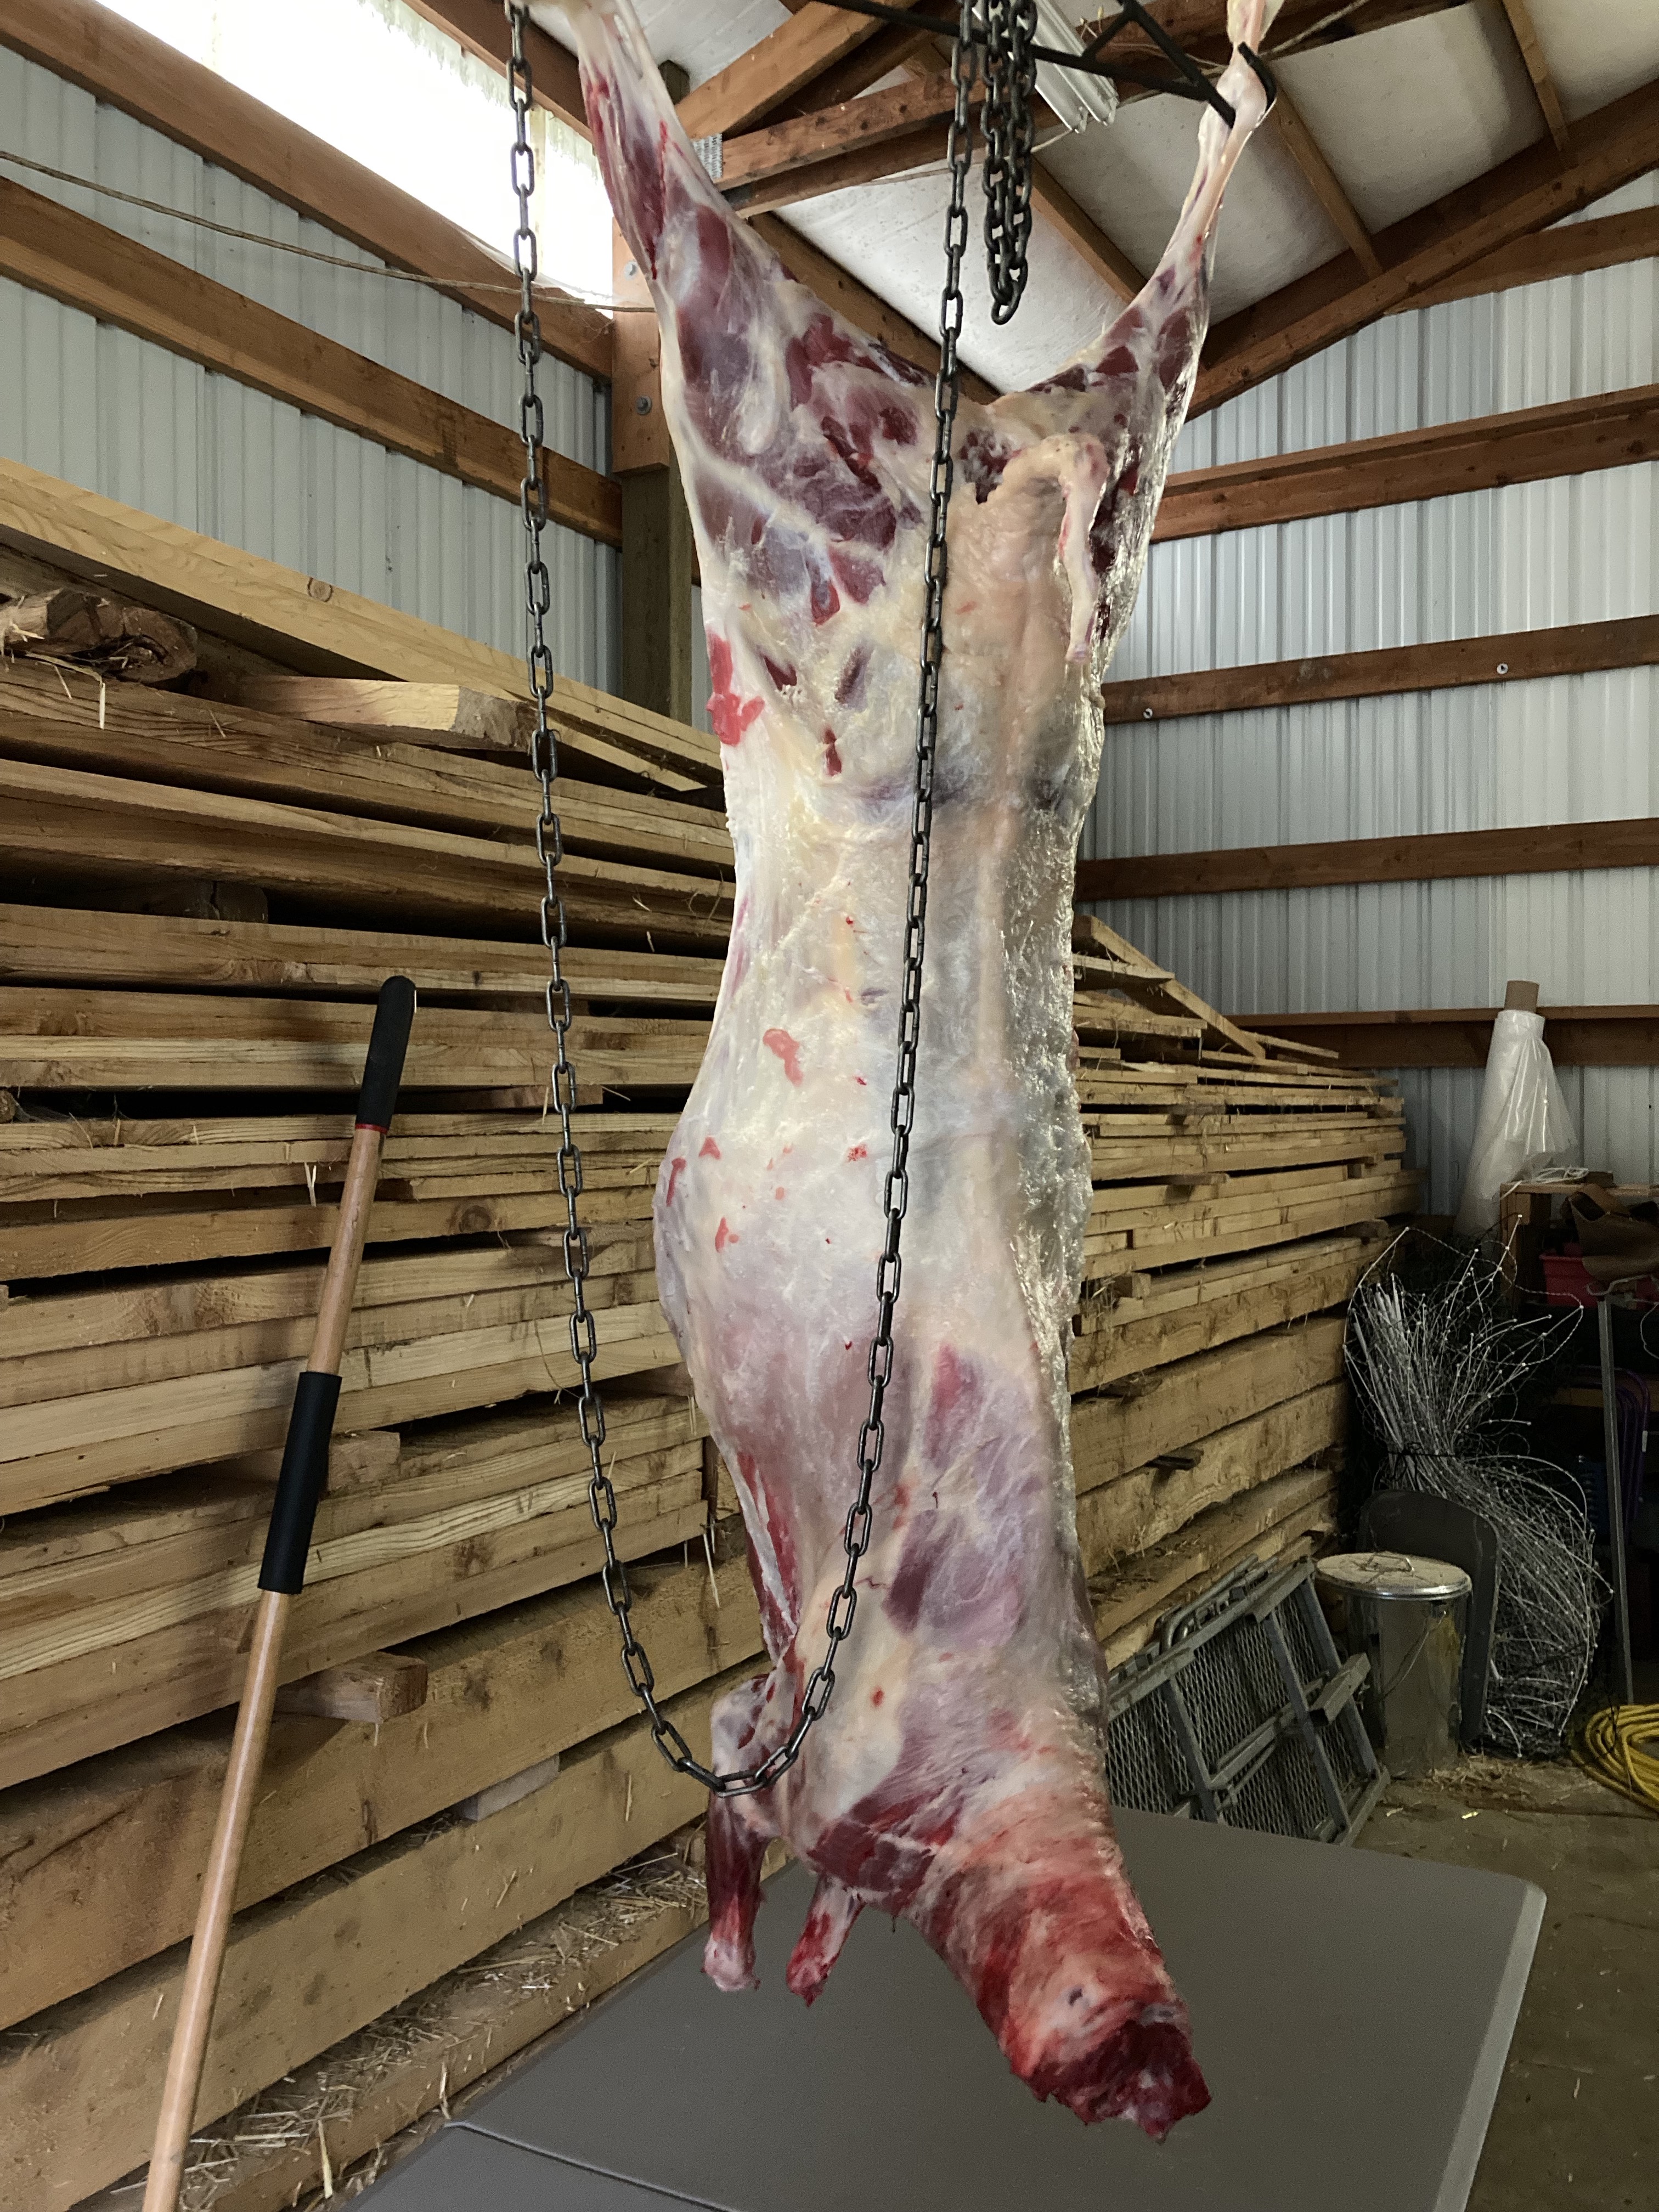
I highly recommend you hang a carcass before butchering with a chain hoist and gambrel to make life easier. A block and tackle also work fine, you’ll want to move the carcass up and down as you work. I put a table under the carcass to lay out each part as I break it down. All the butchering happens on this table to keep headlining of the meat to a minimal. Wrapping and labeling are completed at another clean table before going into the chest freezer. Remember- space out your wrapped cuts in said freezer to spread out the temperature change. Putting all the room temperature cuts in one area of the freezer will cause a hot spot and a lot more work on the part of your appliance to get the meat down to proper temperature in a timely way. You can butcher a lamb, have it wrapped, and in the freezer in about four hours or less.
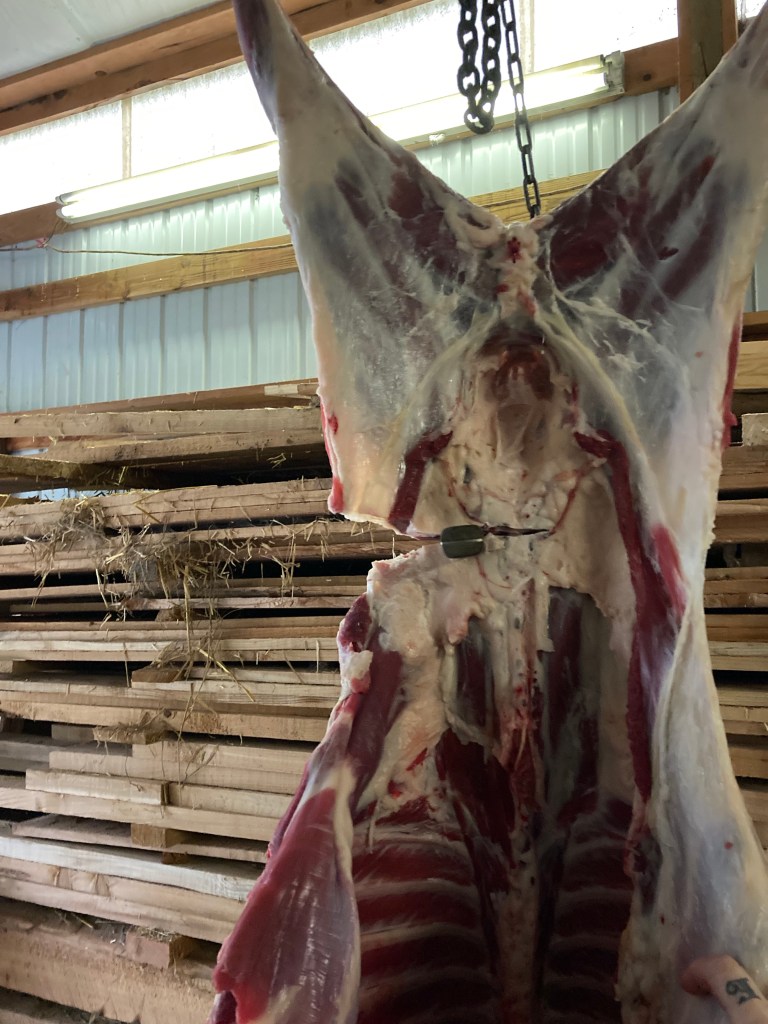
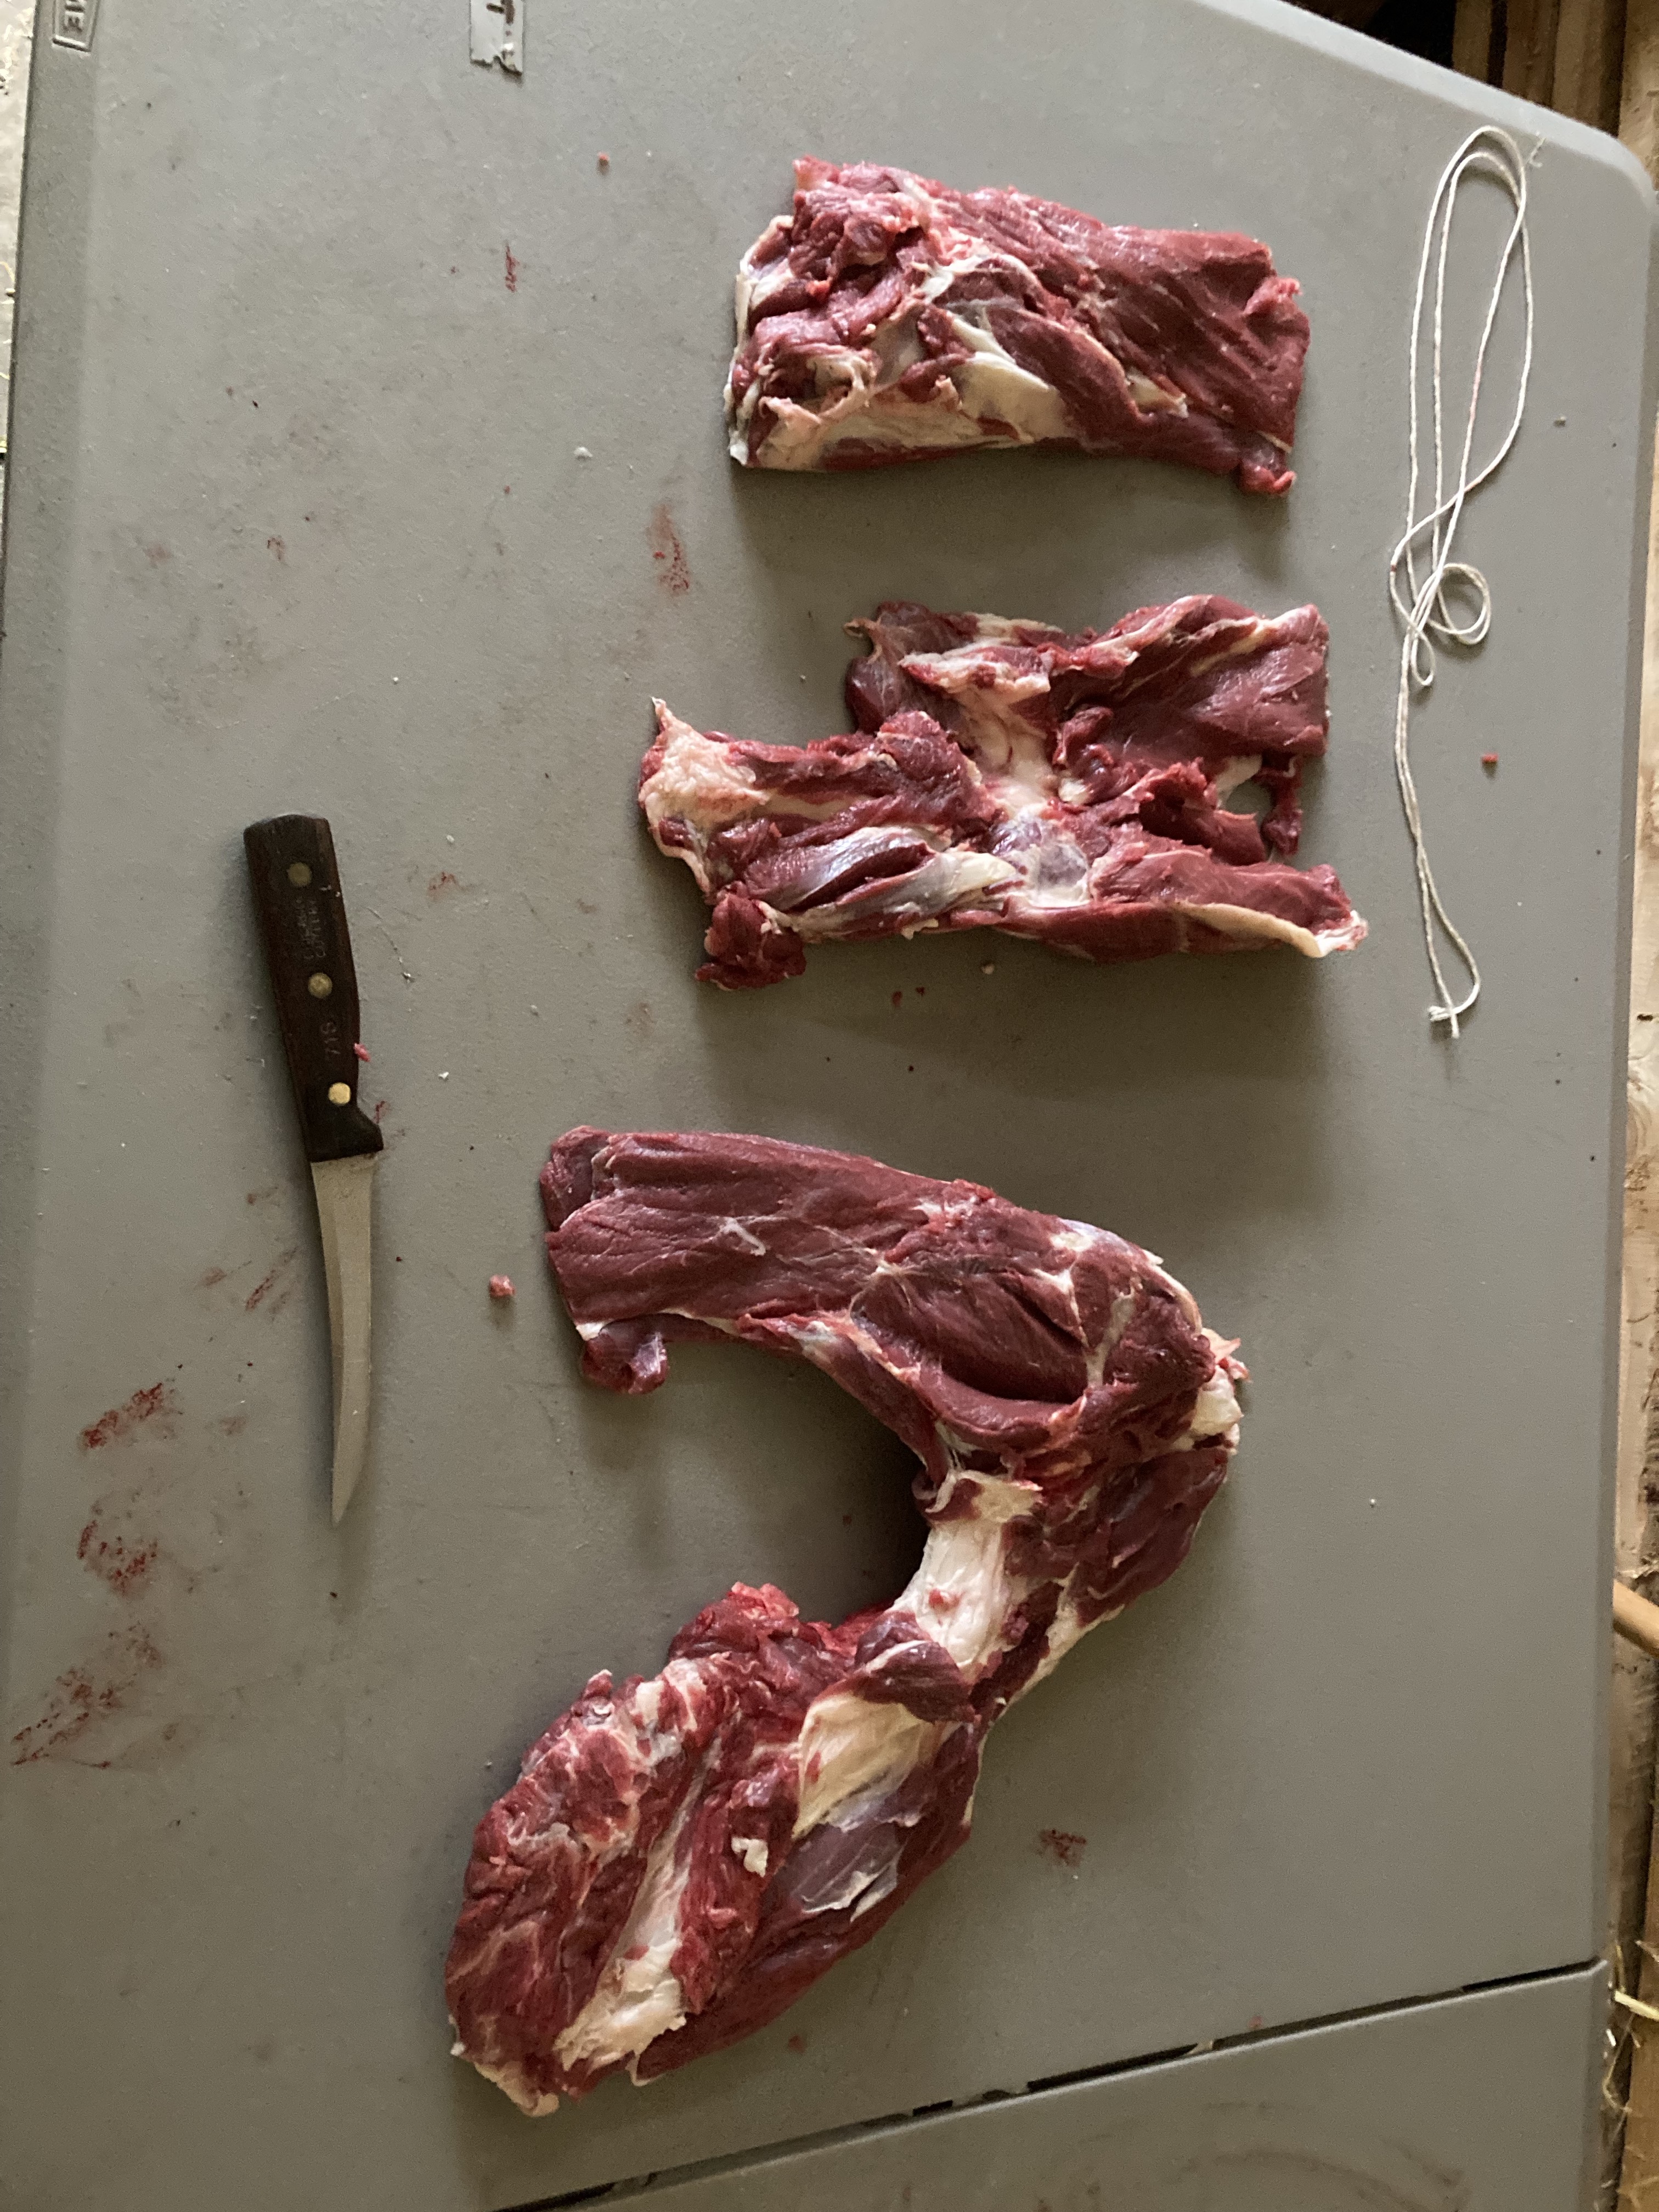
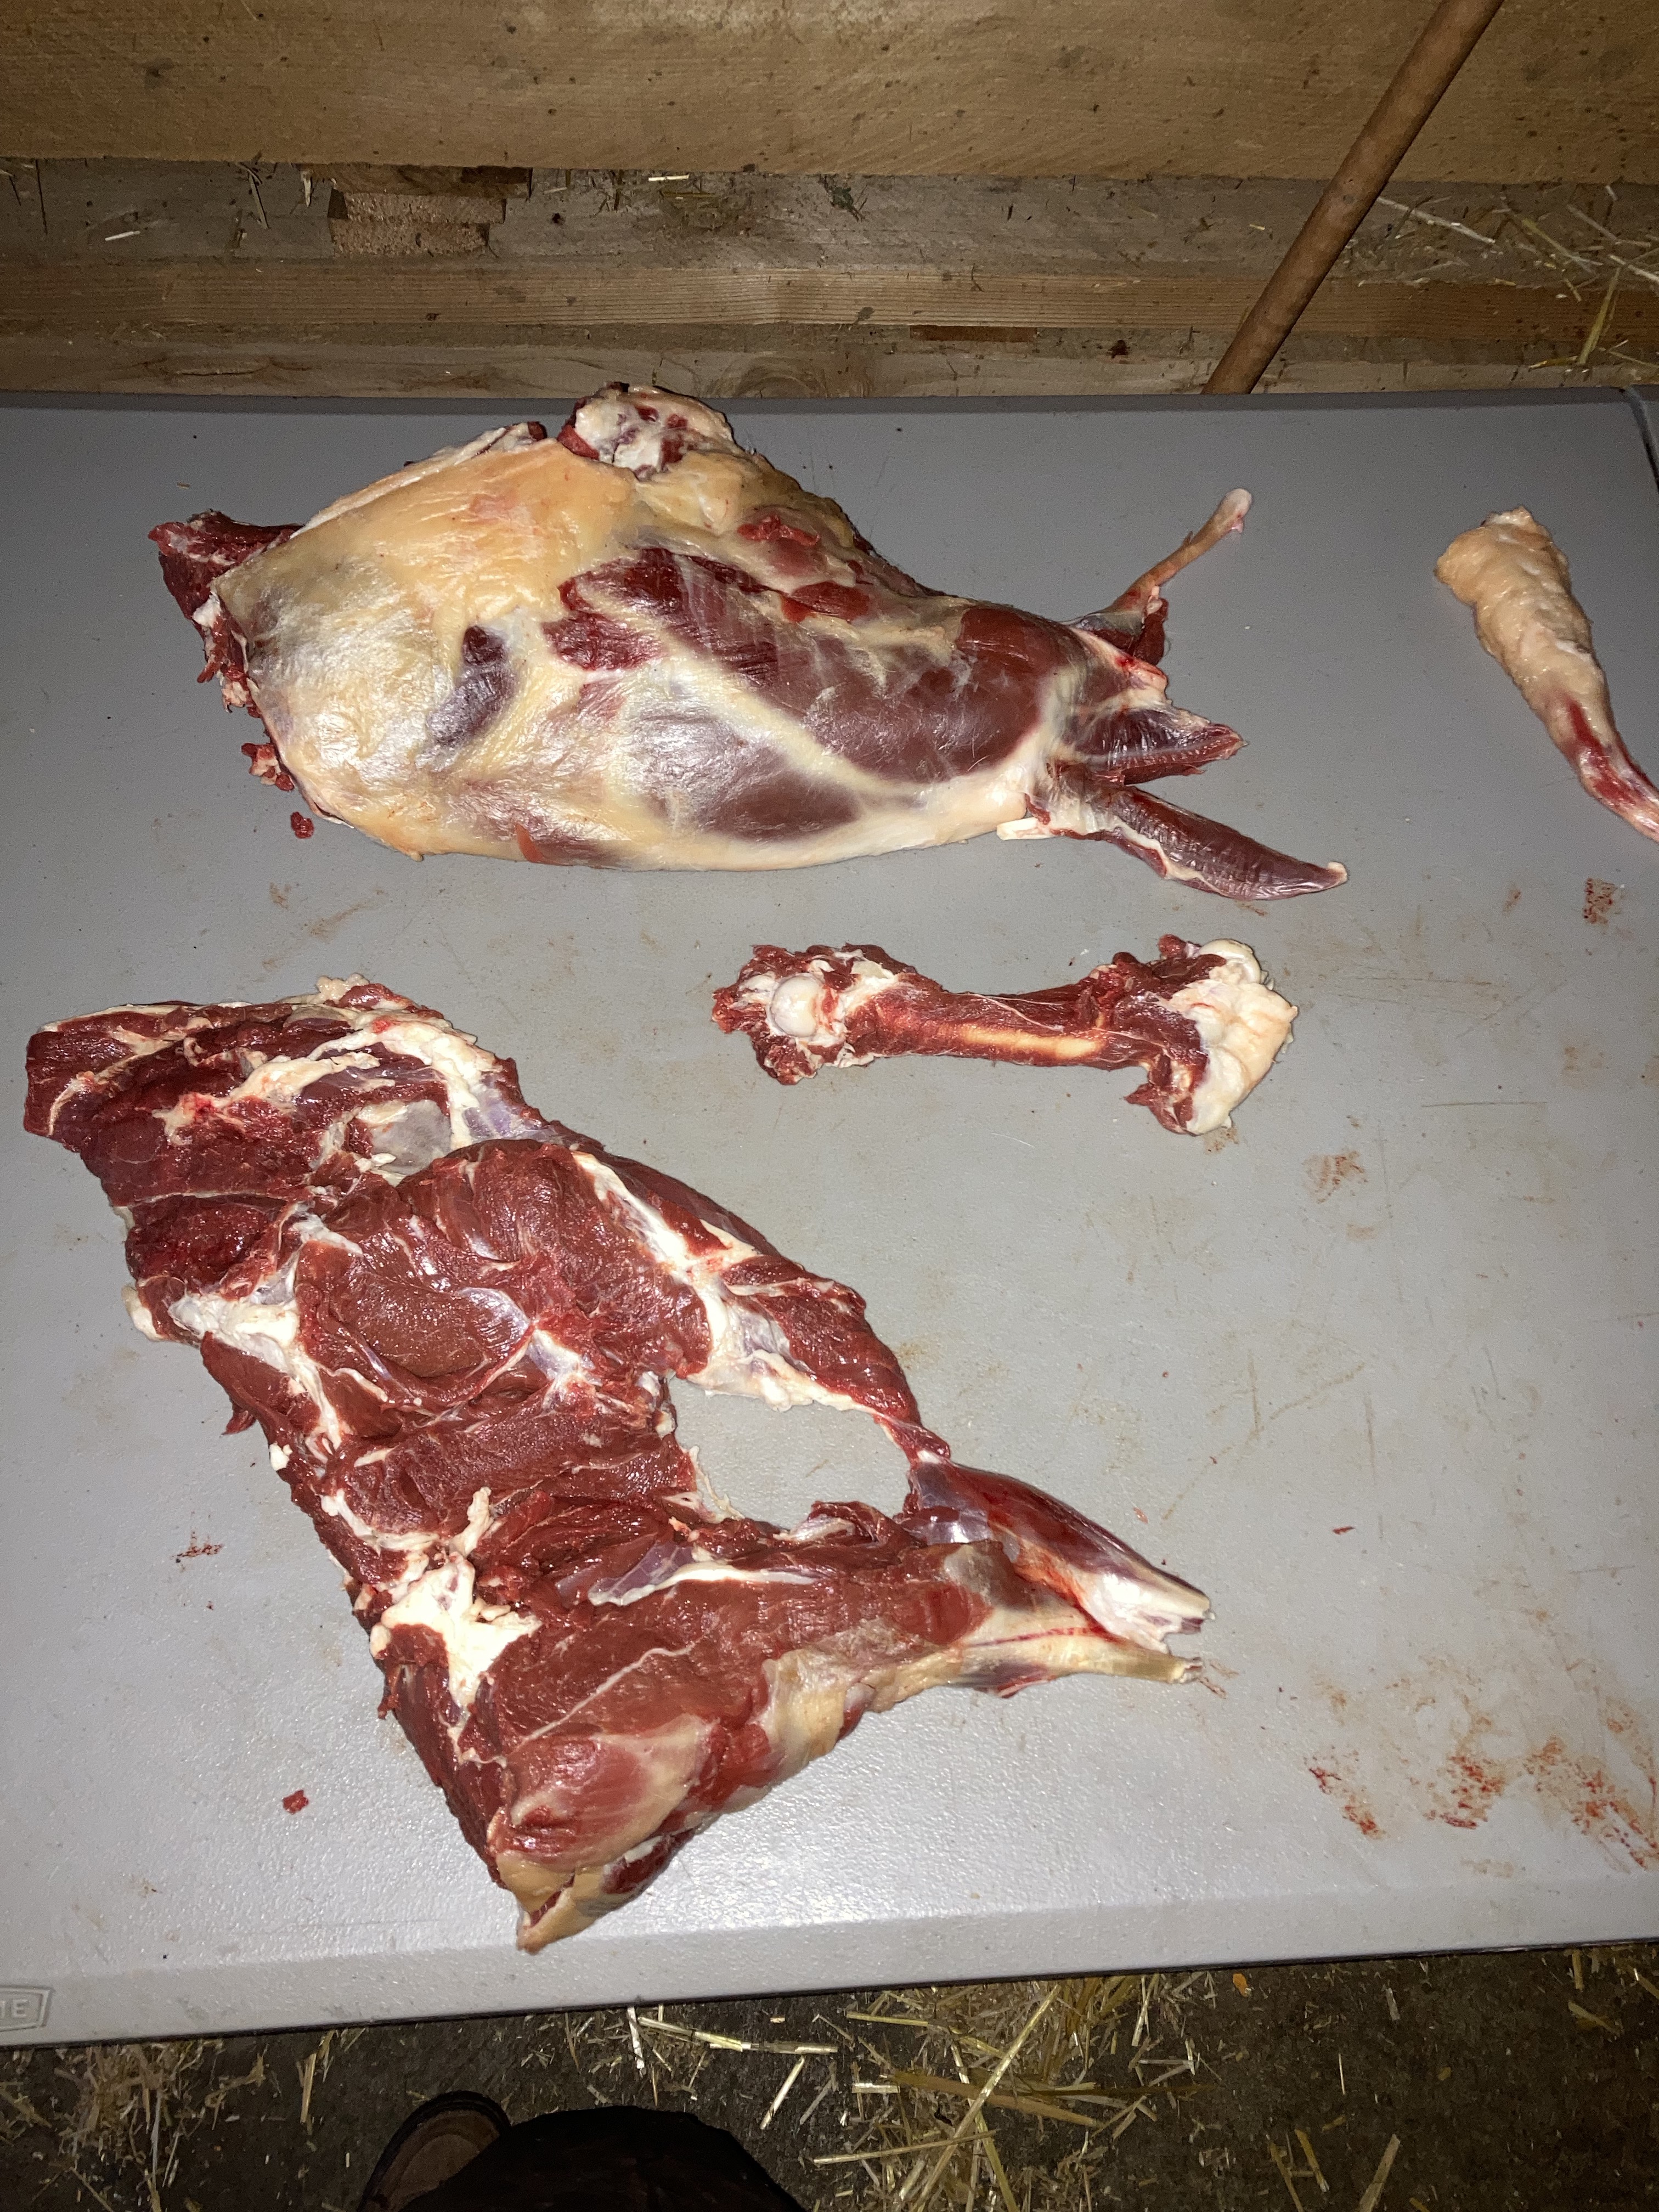
The key is making larger cuts and fewer bits. Take the rib- you can use a band saw to cut nice French Crowns, chops, and stakes, or you can create wonderful roasts and some good grids, while also still using the bones if you wish. I like to peel the outer layers of meat off the bone from the brisket up to the backbone, including the back-strap. That whole wing off the rib cage rolls into a nice roast, which can be cut into smaller medallions.
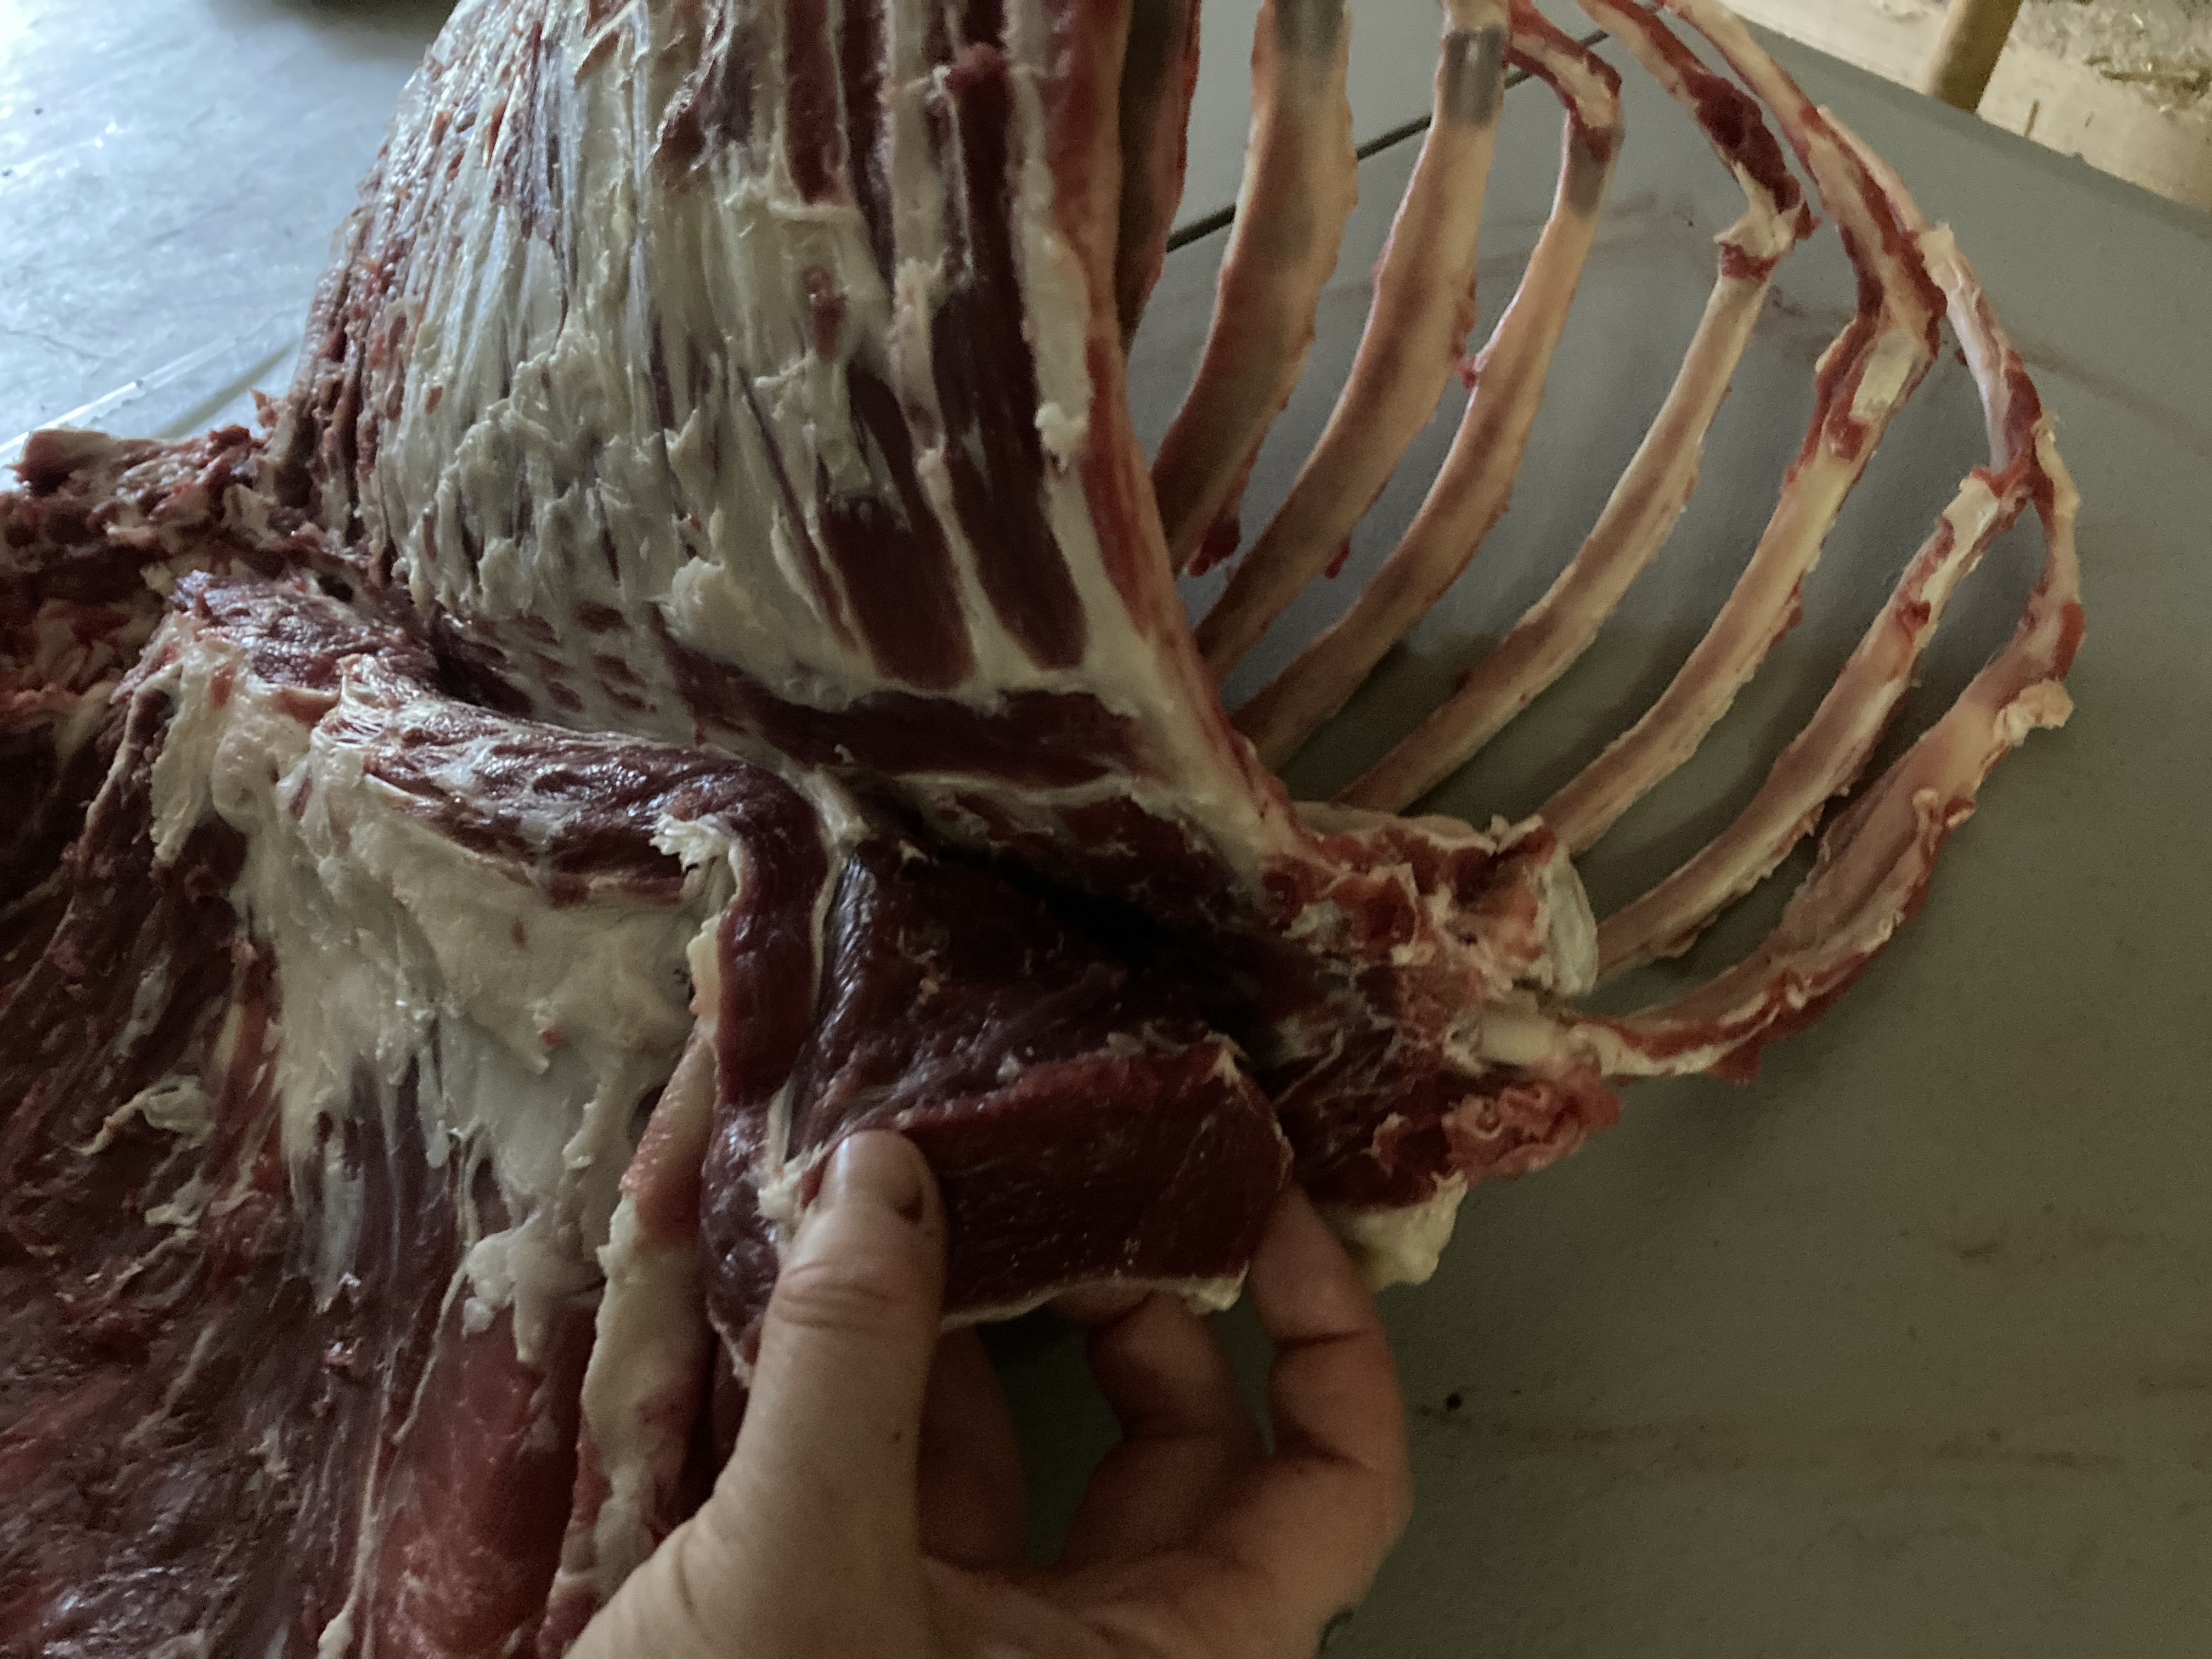
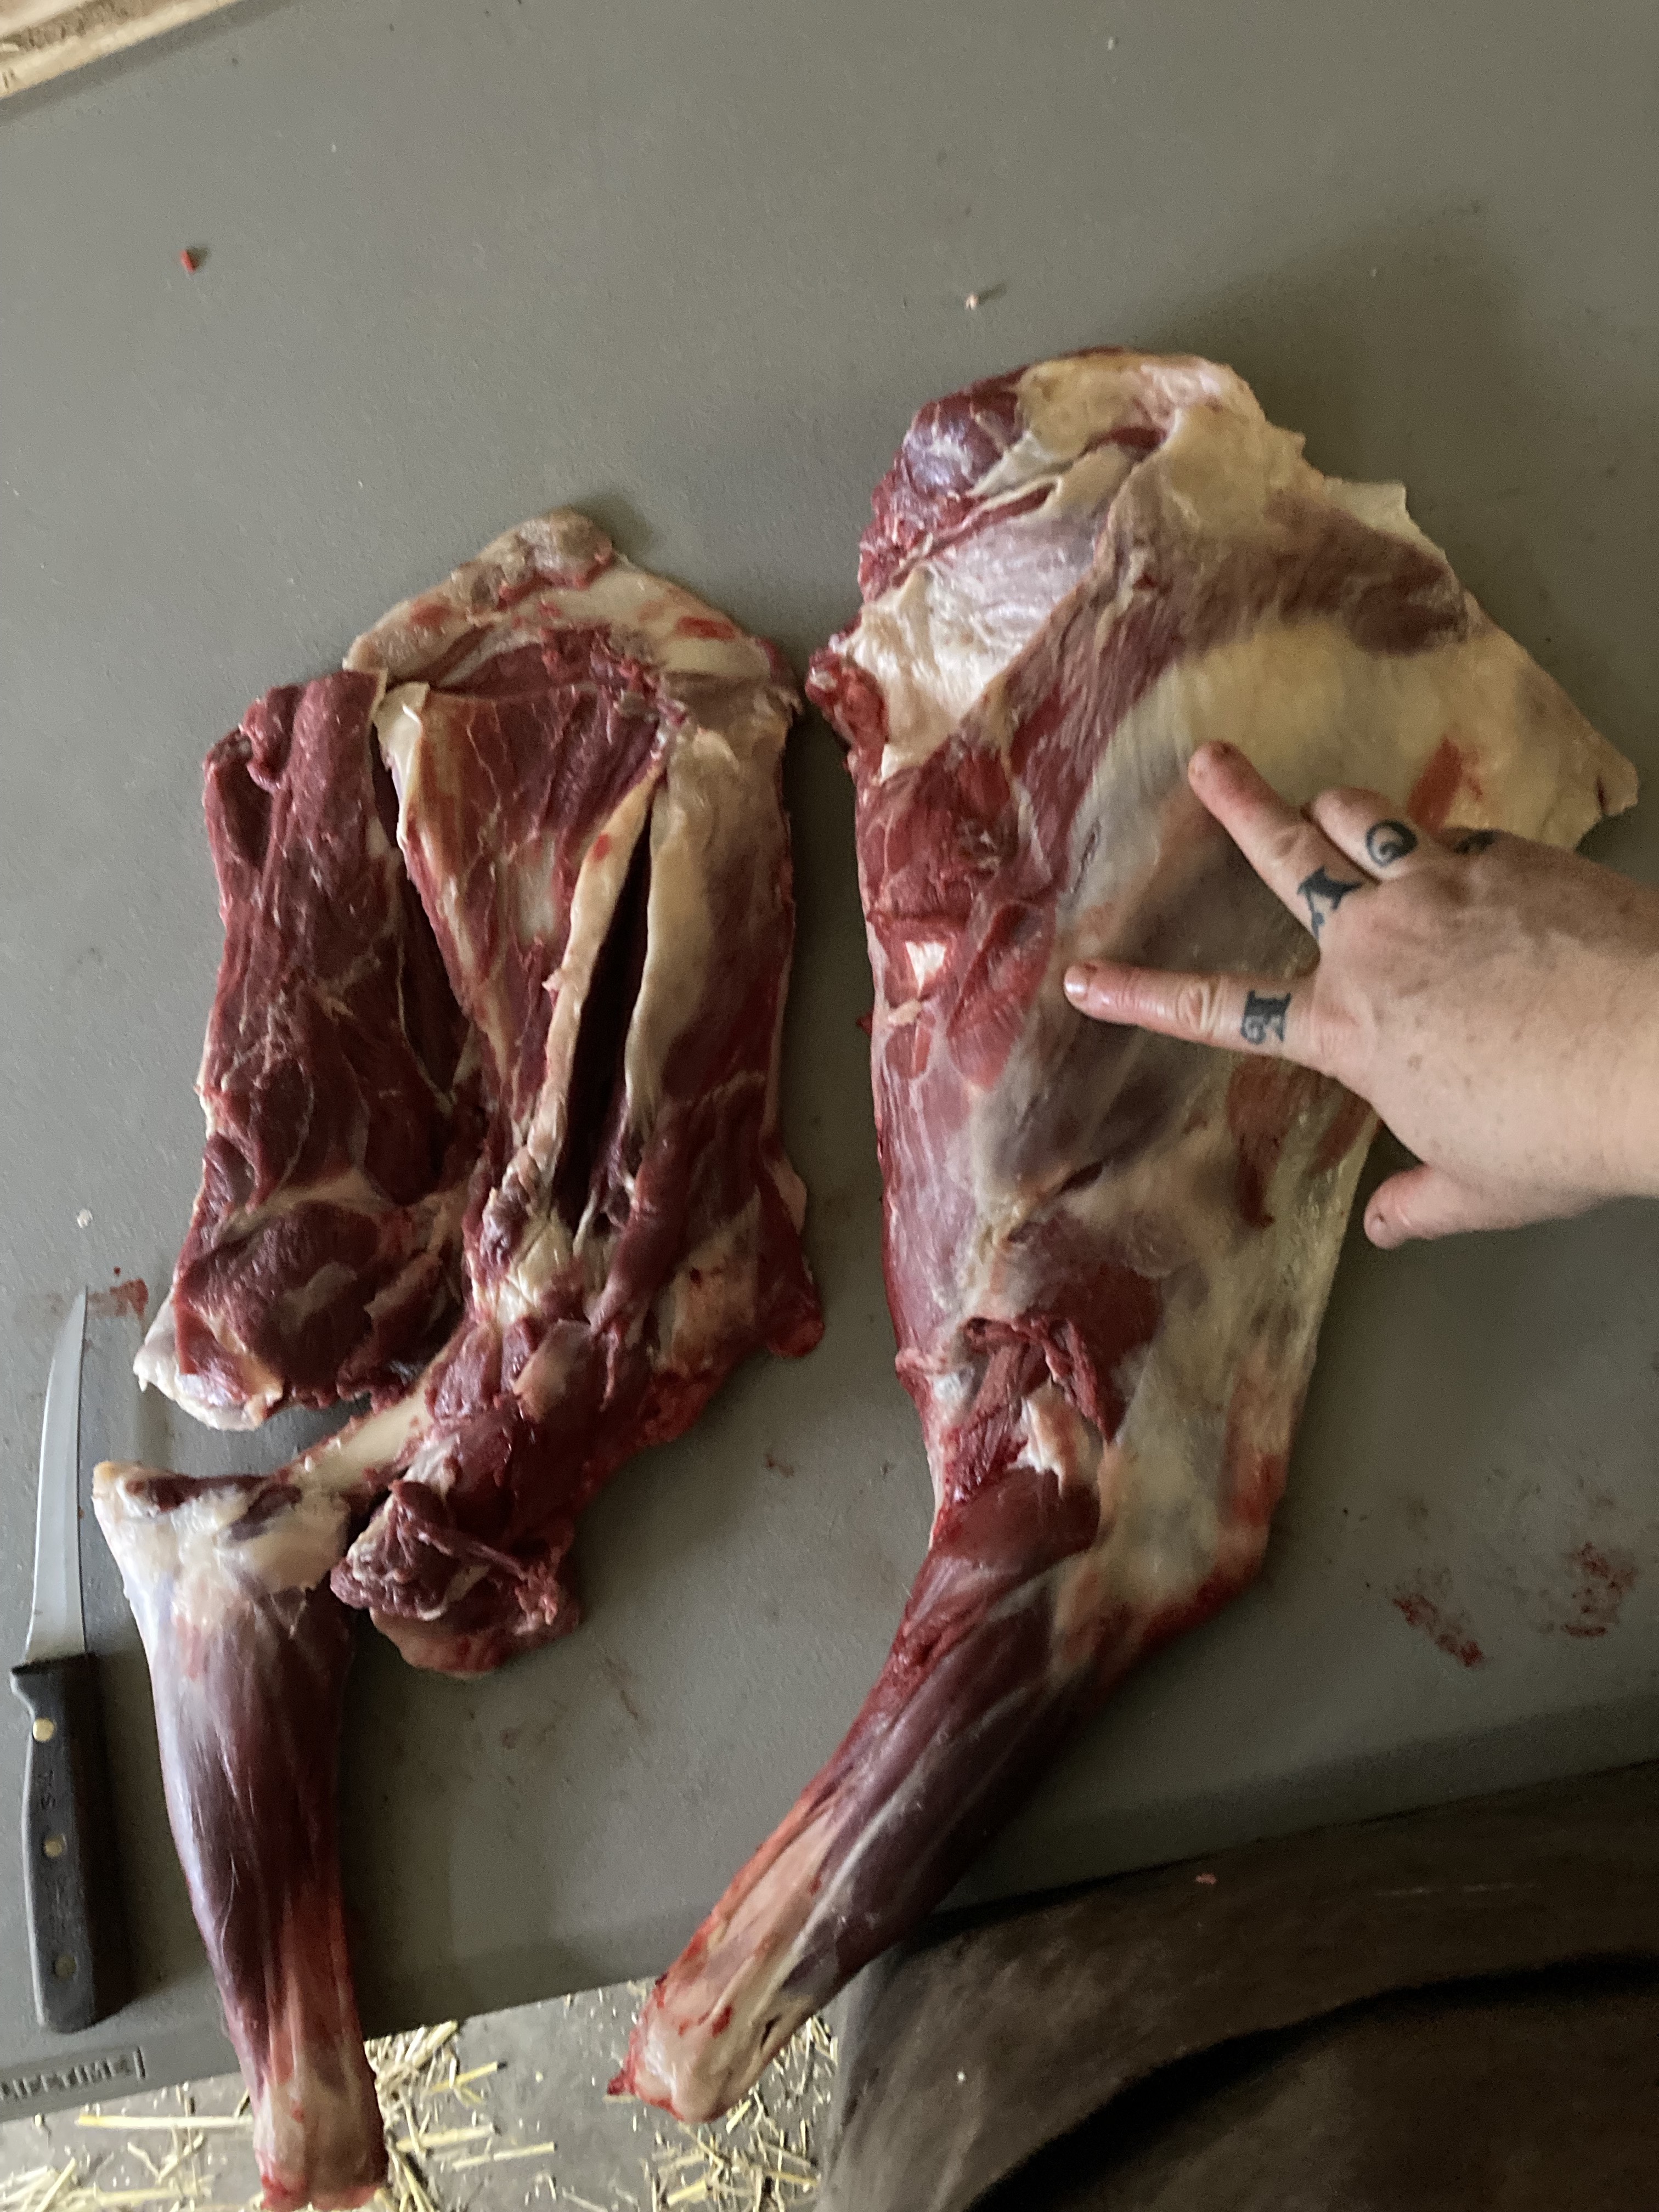
After the wing comes off I go back and cut out any remaining meat from between the ribs and add it to the grinds bag with what fat I can carve off the brisket. The rest of the rib and keel will go into bone stock. In the large picture above, I’m holding the back-strap just removed from the spine. You can use your fingers to separate this choice meat from the bone it’s attached to, thus retaining as much of the intact muscle as possible. So much of butchering is done by feel. The way I’m talking you through this process relates to how many times I’ve taken apart a carcass- there’s a lot of personal approach, there’s nothing industrial about my methods, yet the end result is always a good full larder and wonderful meals through the cold dark winters with great reward for time spent. I encourage anyone applying themselves to home butchering the chance at experiencing their own process, and also looking at different approaches to gain insight and inspiration. The point in sharing my experience here is the hope that you might try this yourself one day- and please contact me if you are interested in a live animal to slaughter and butcher for your home larder.
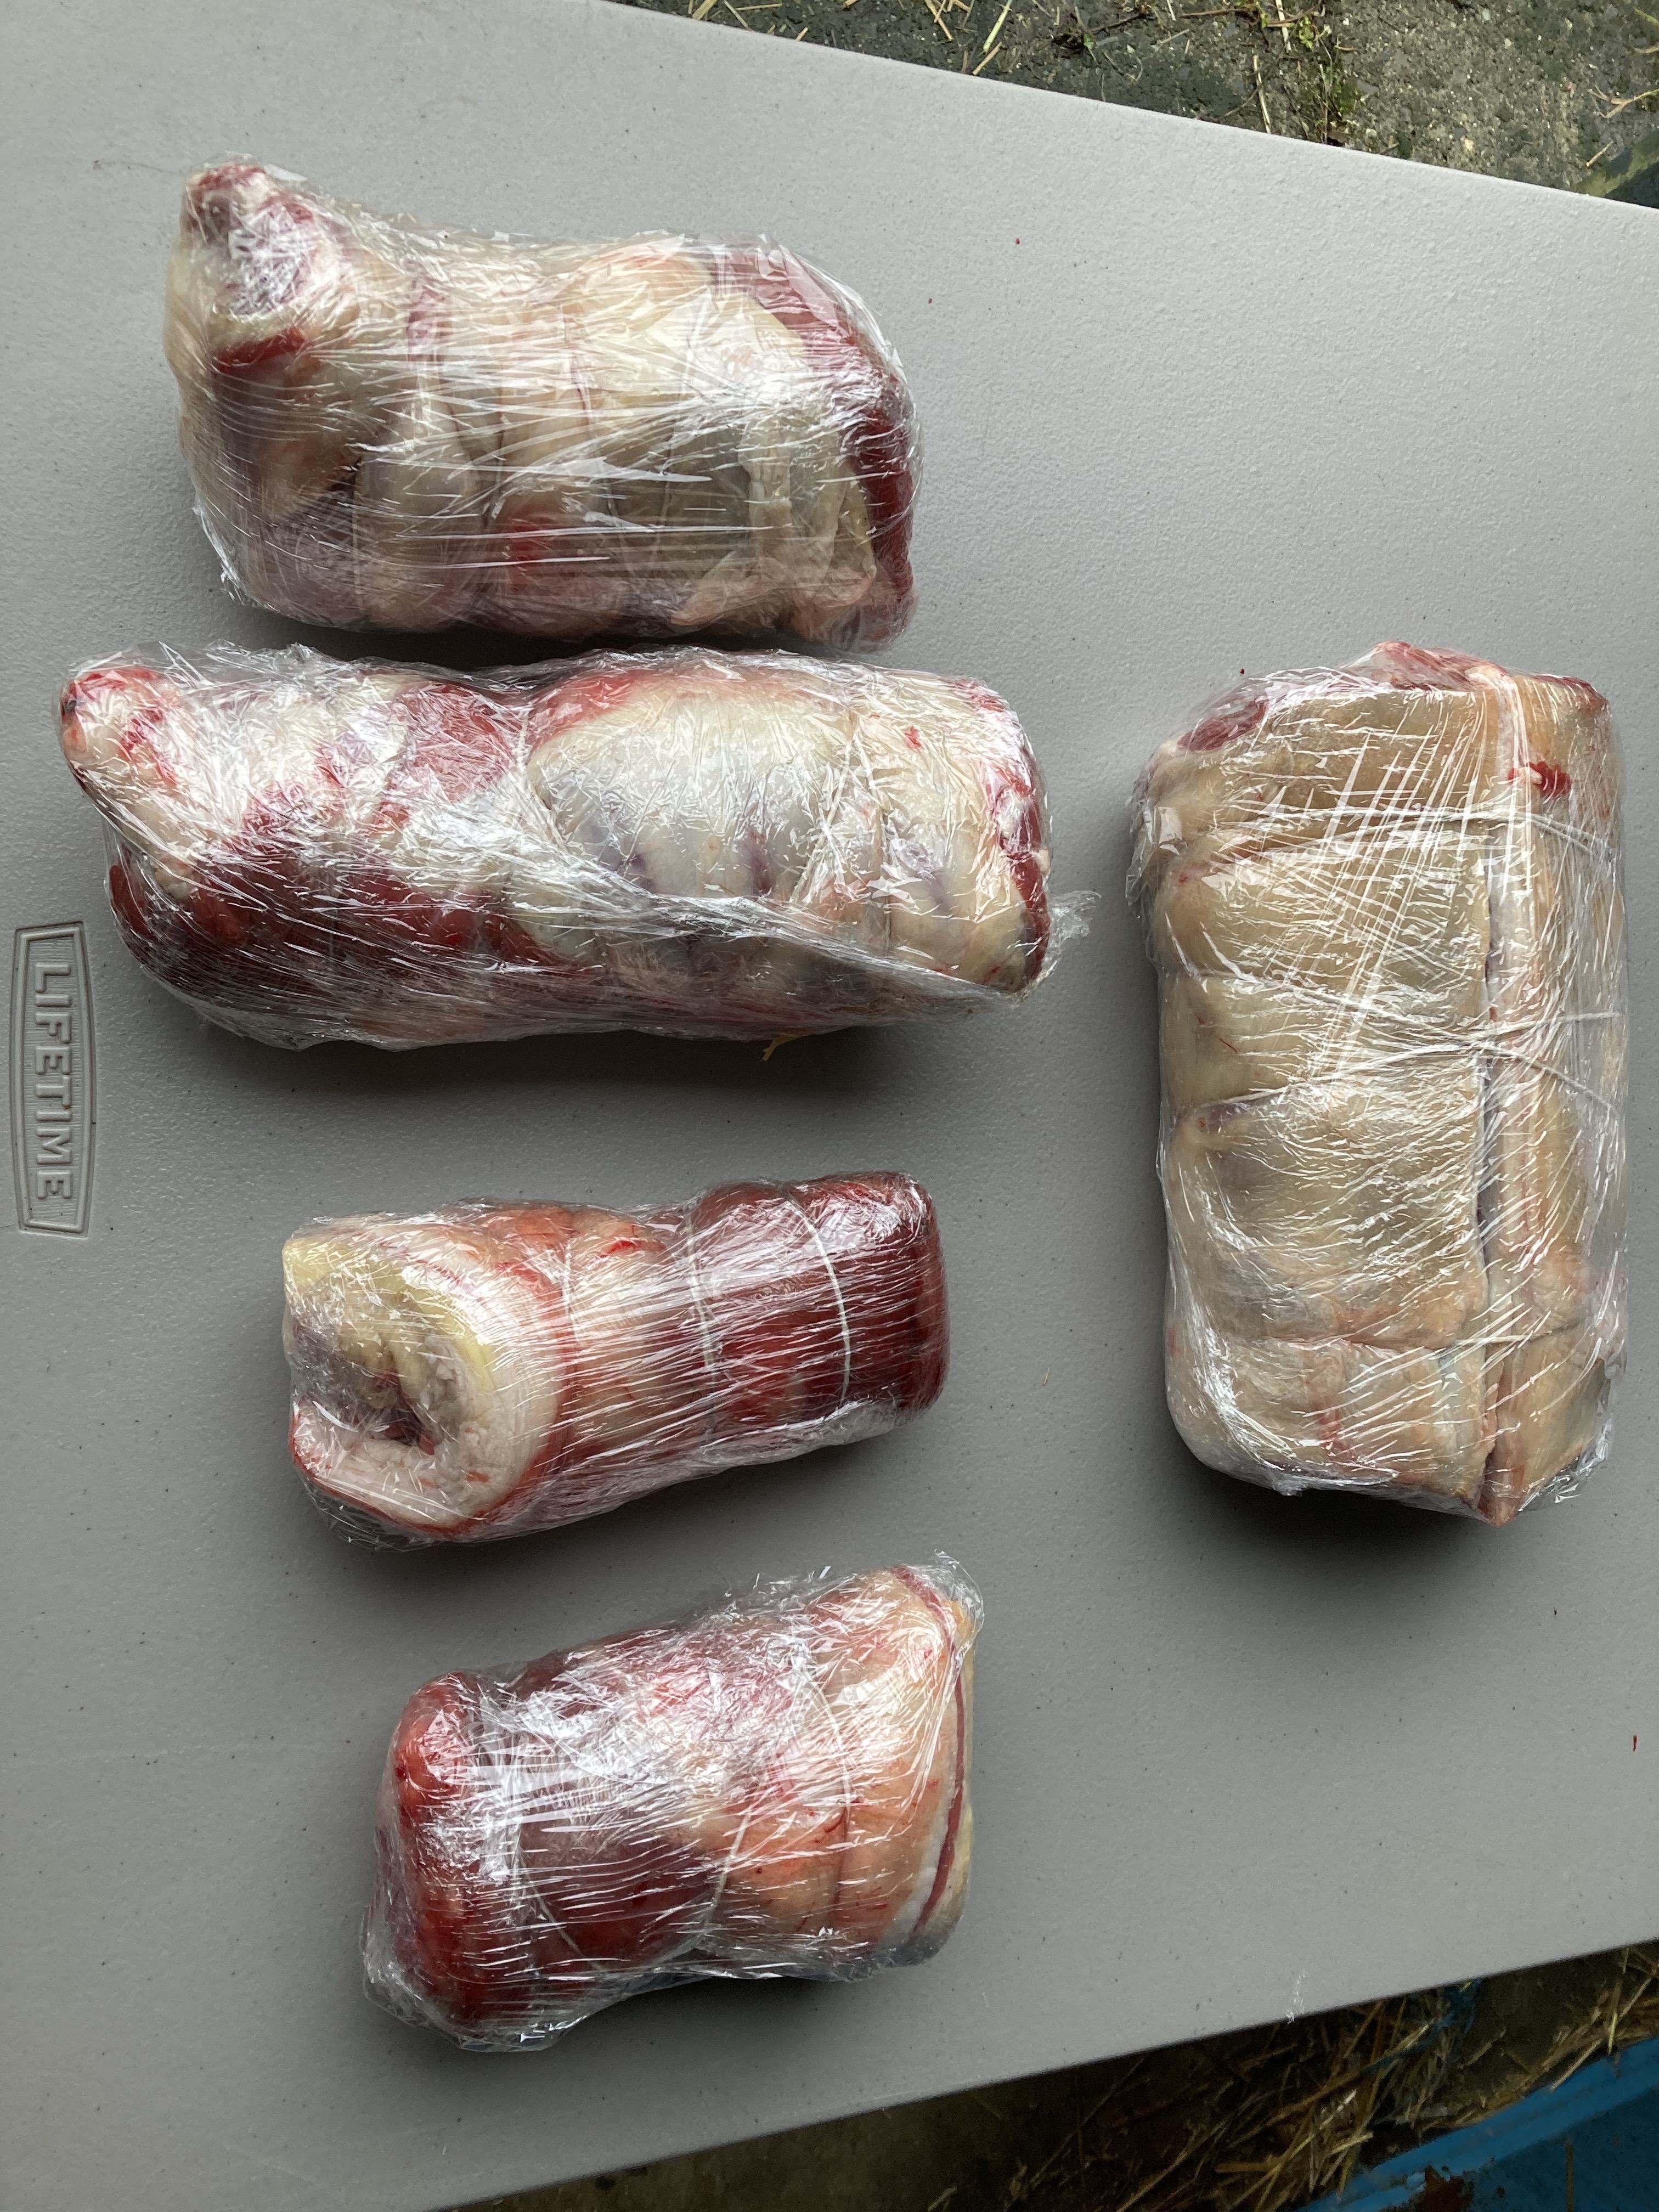
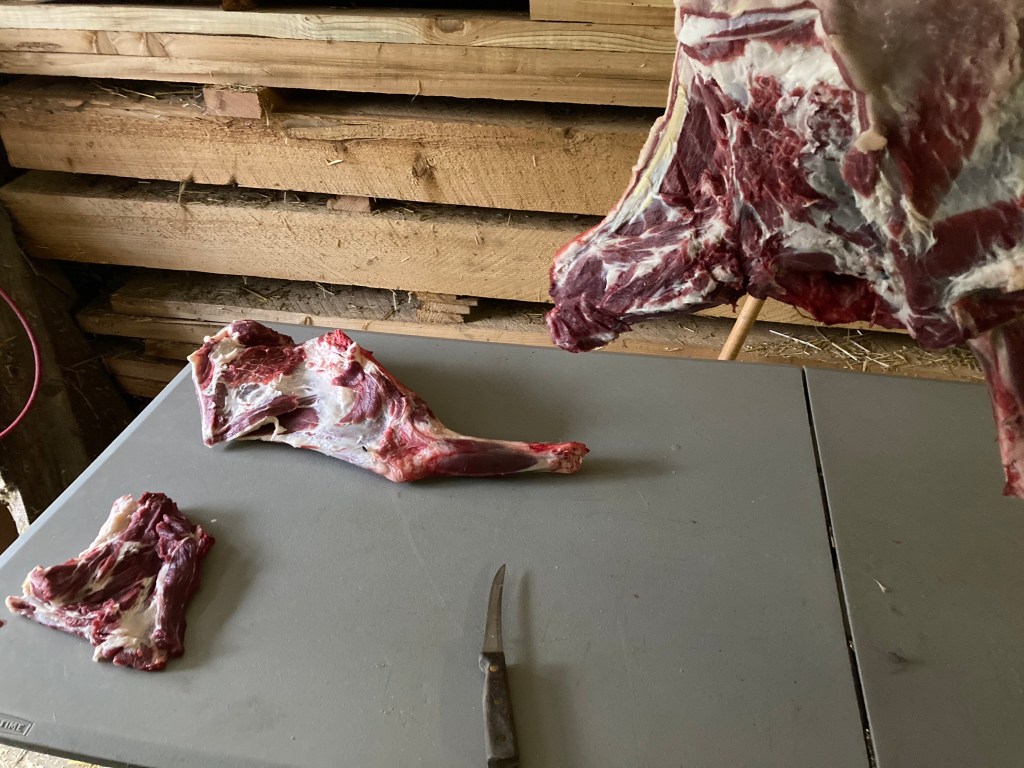
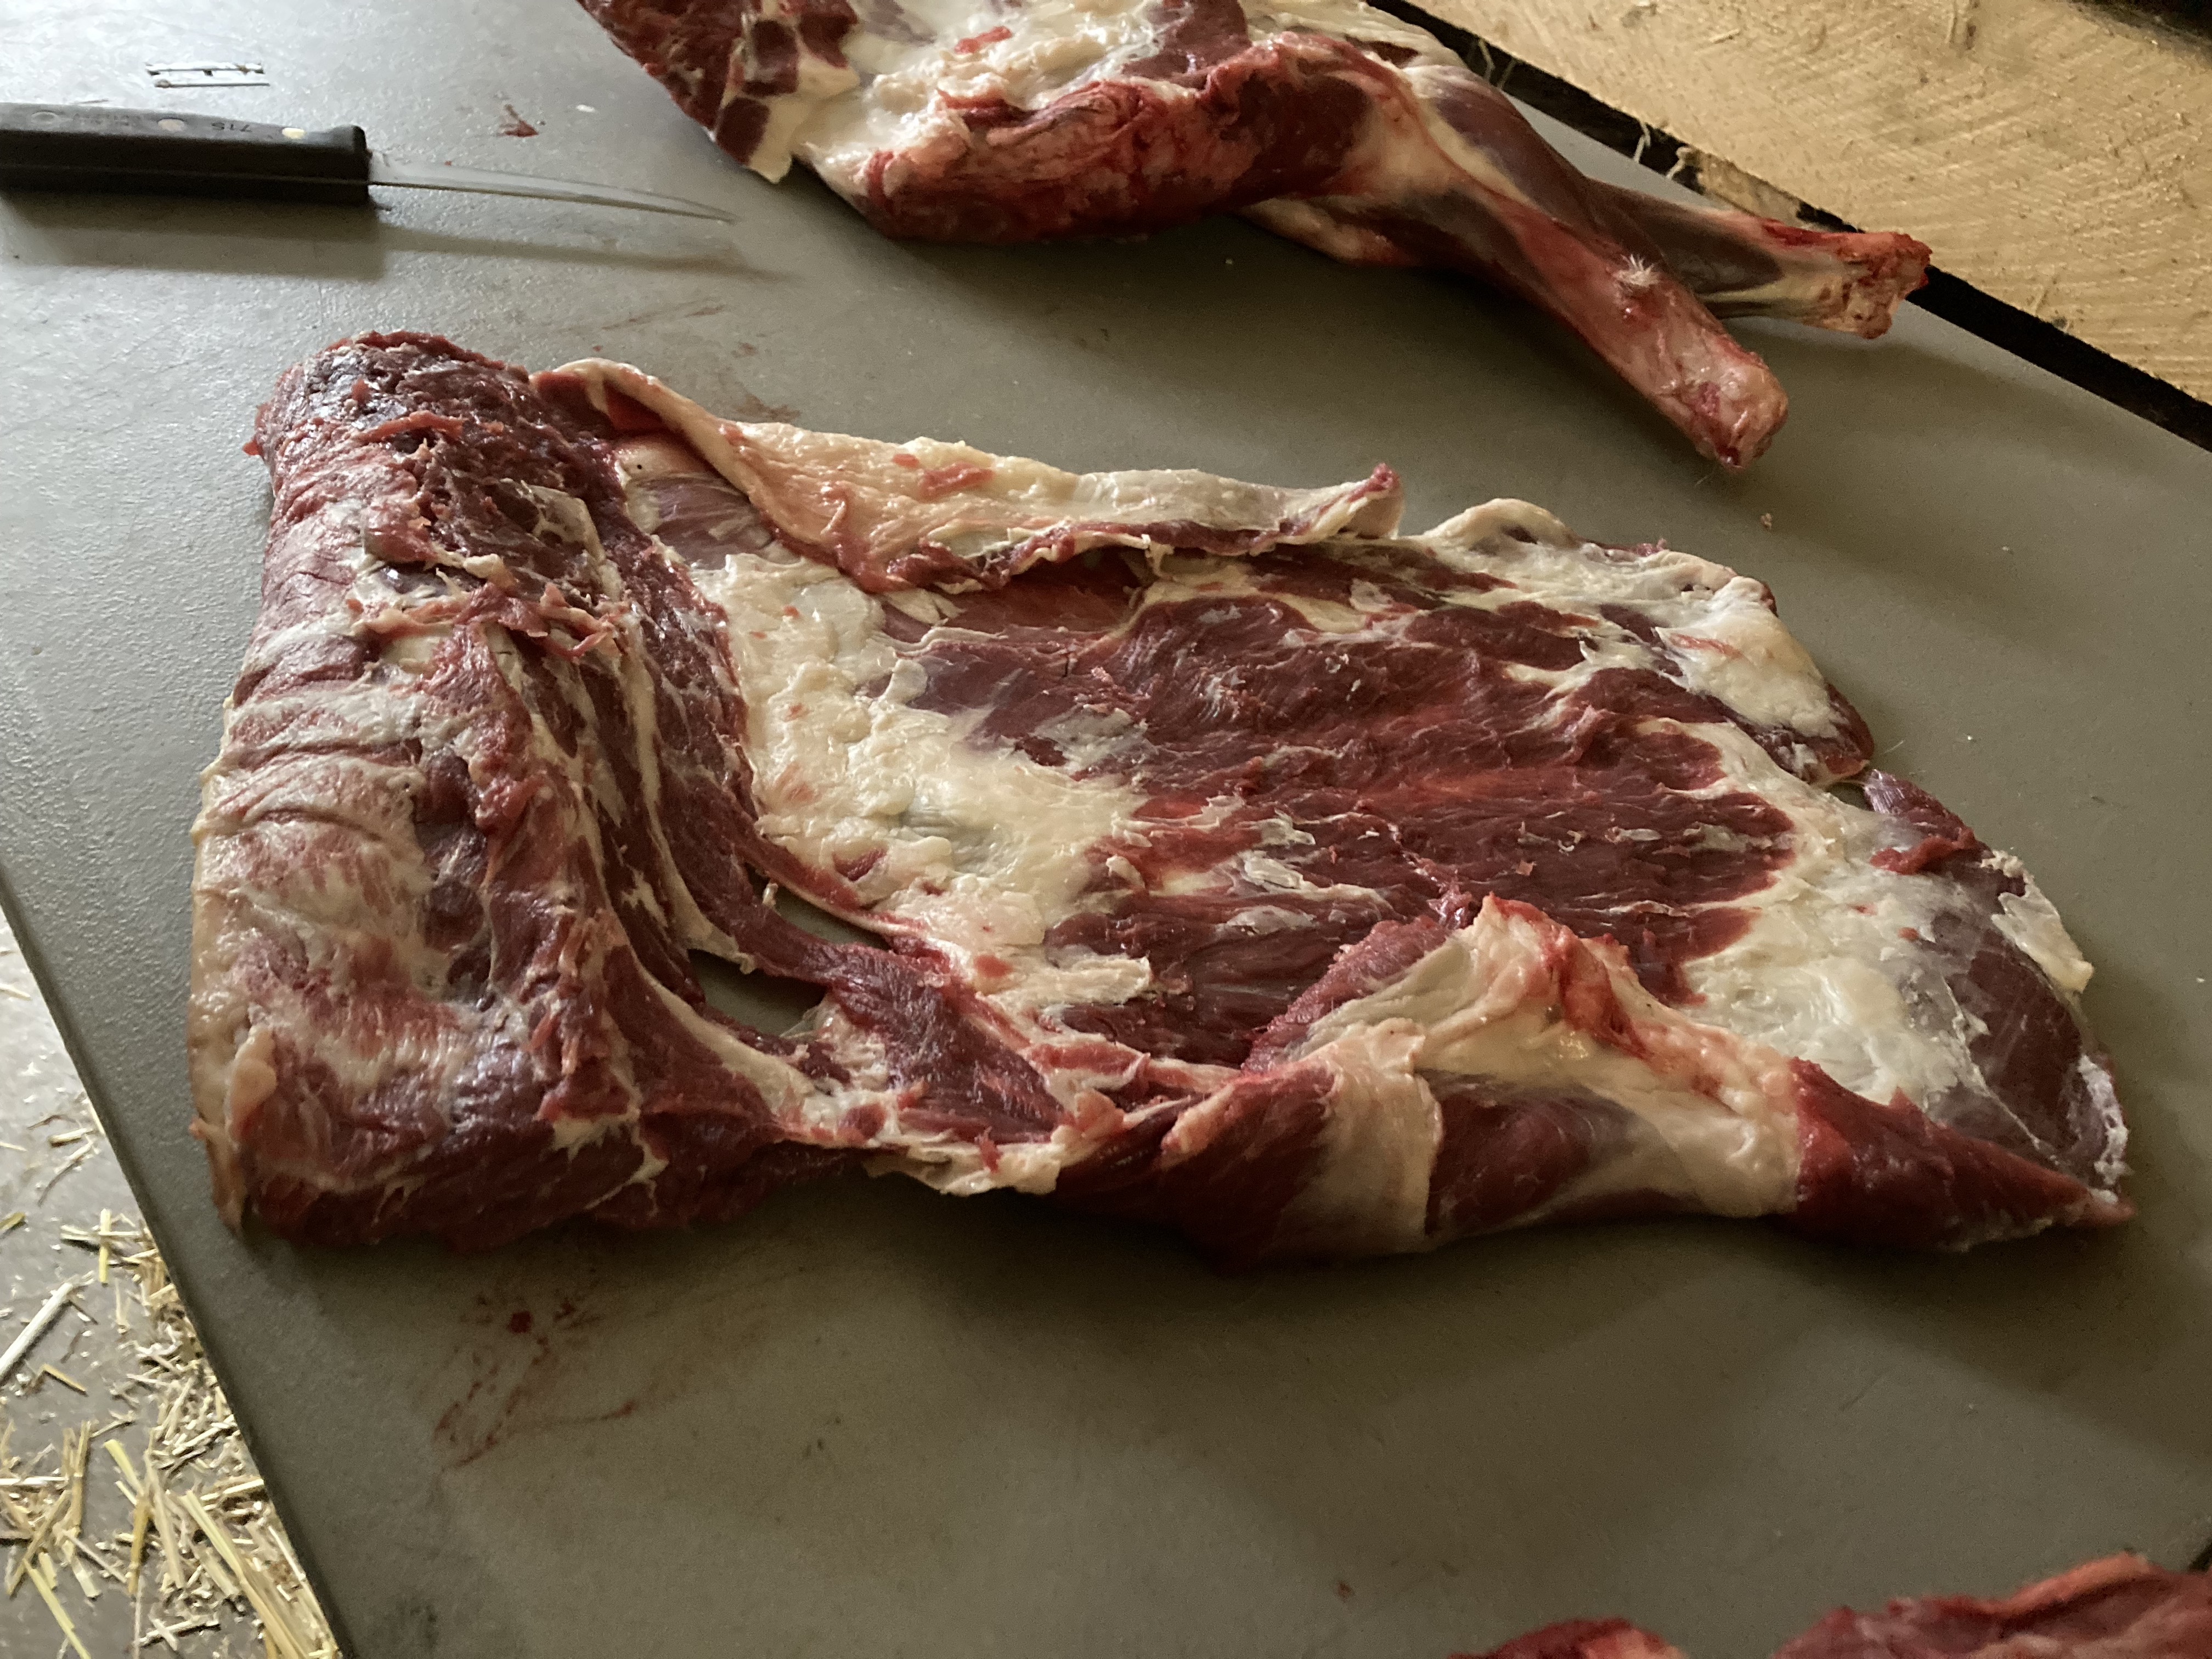
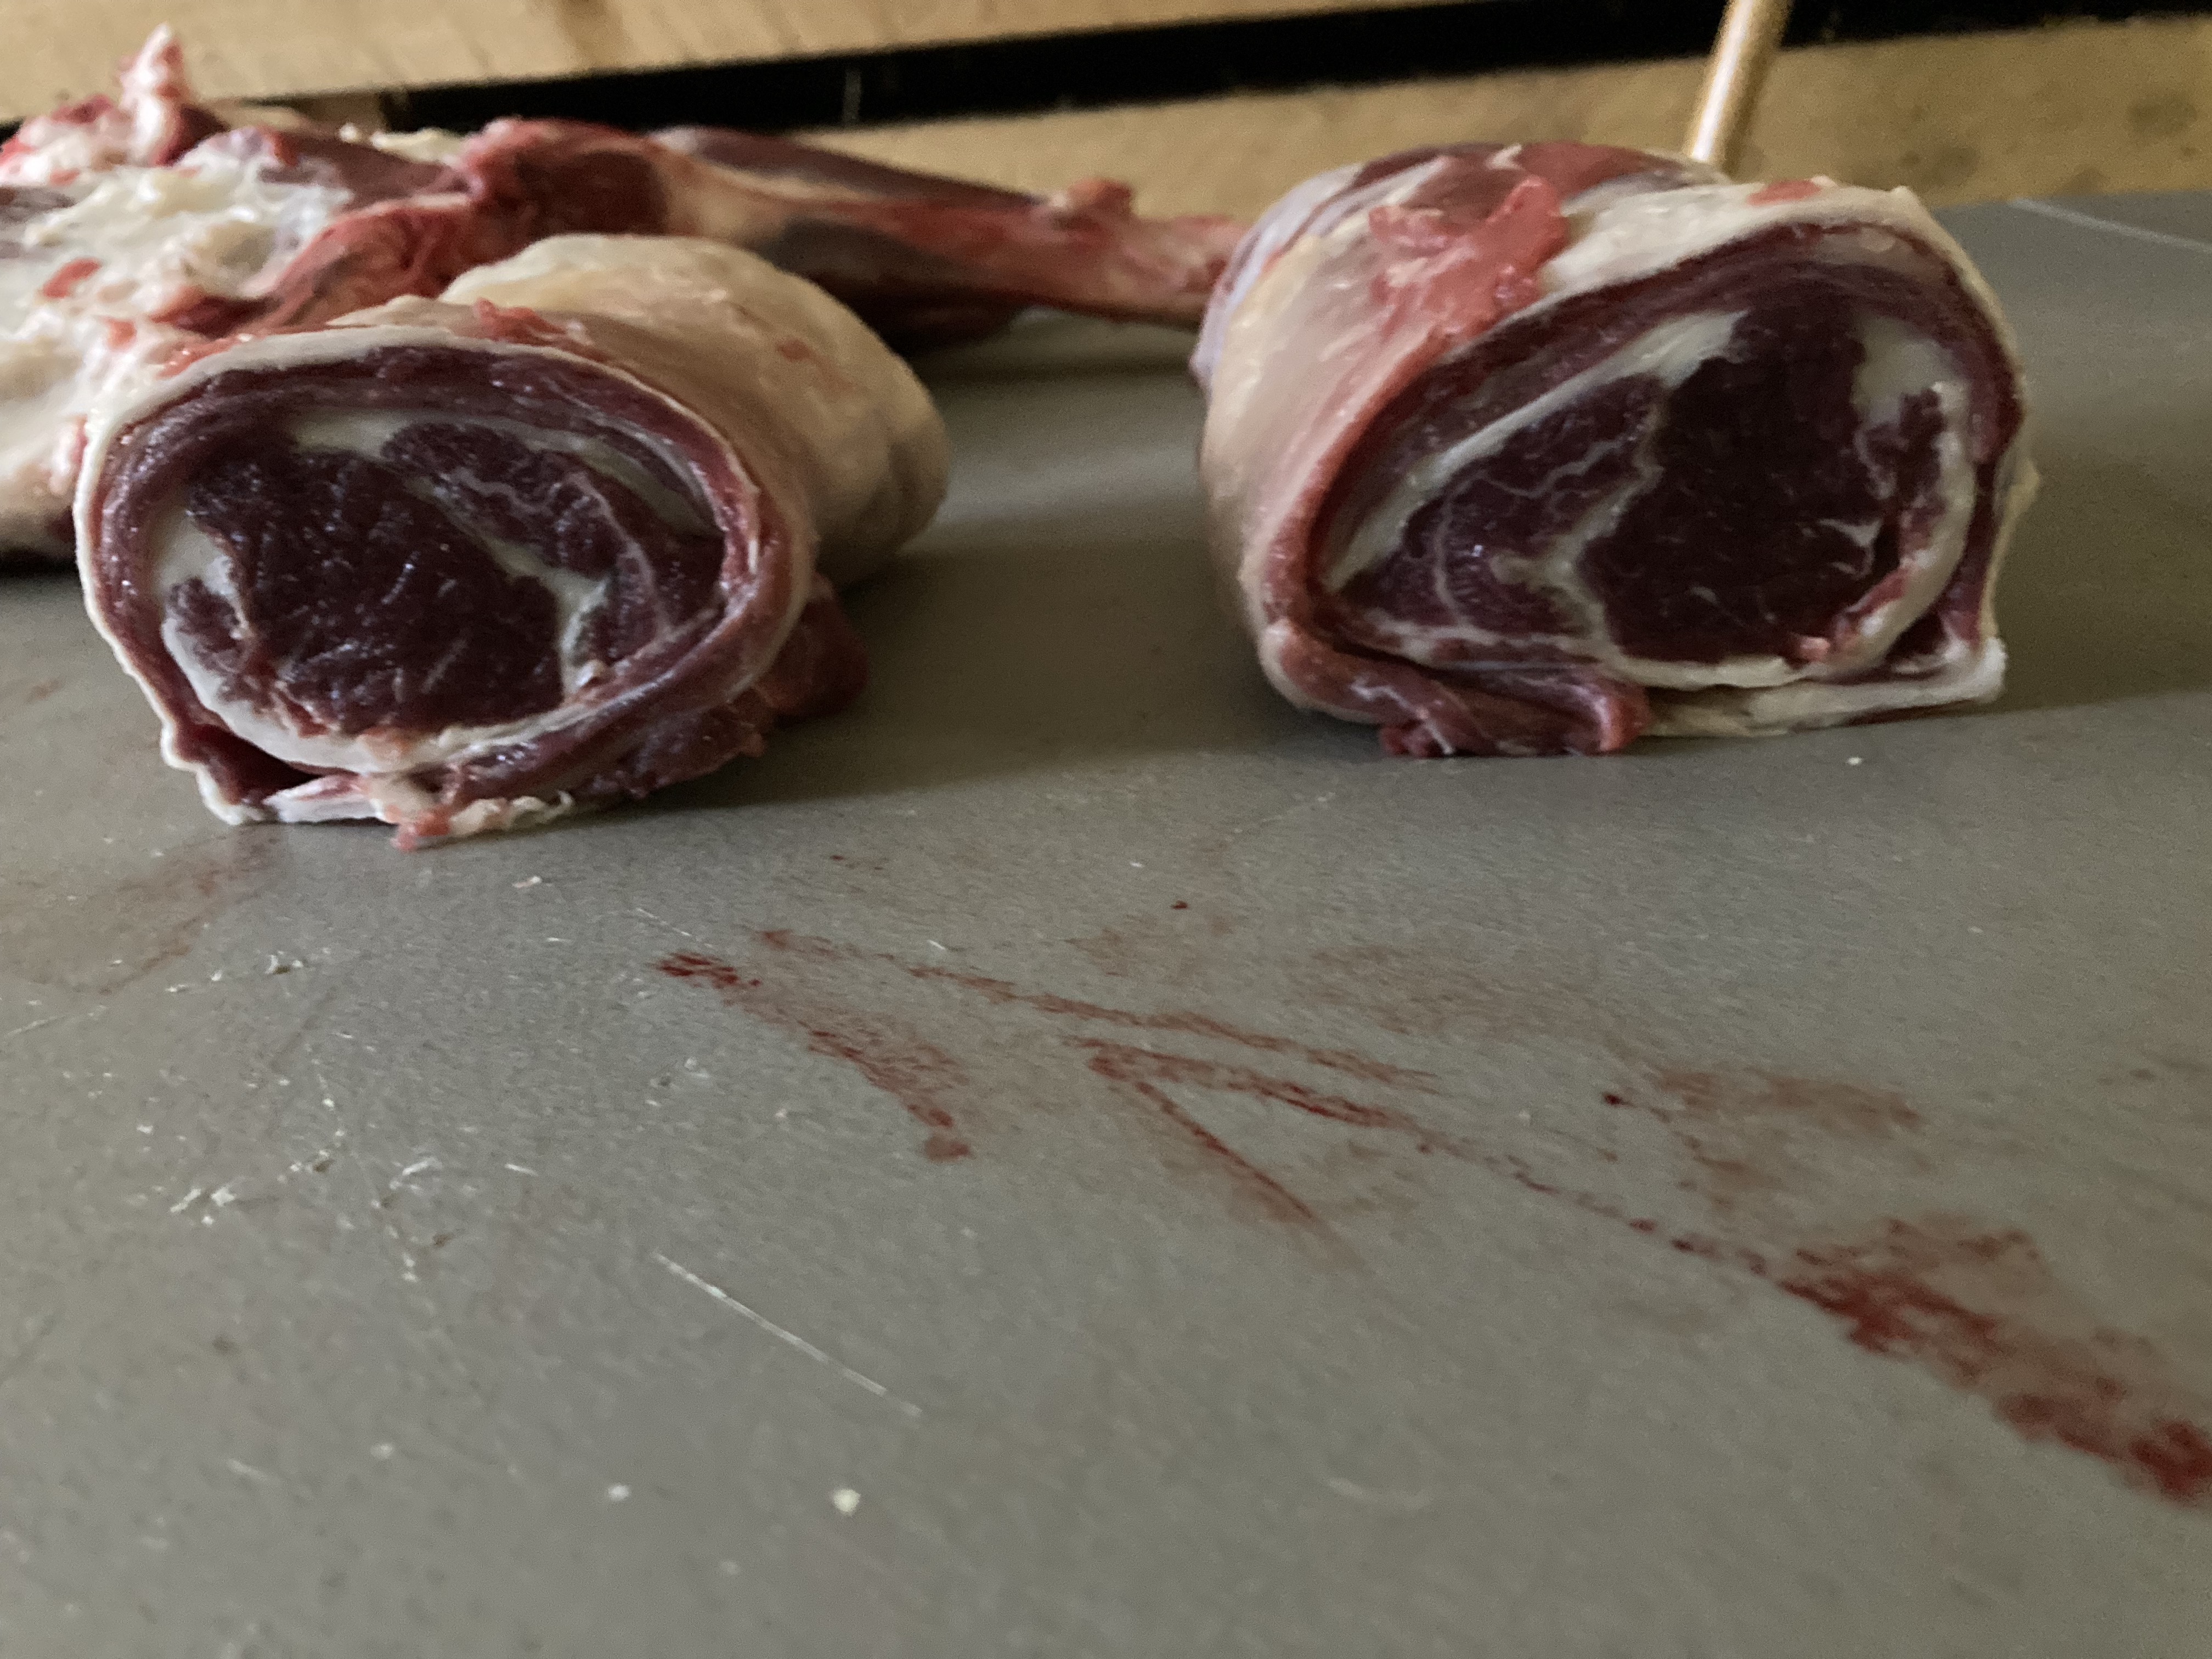
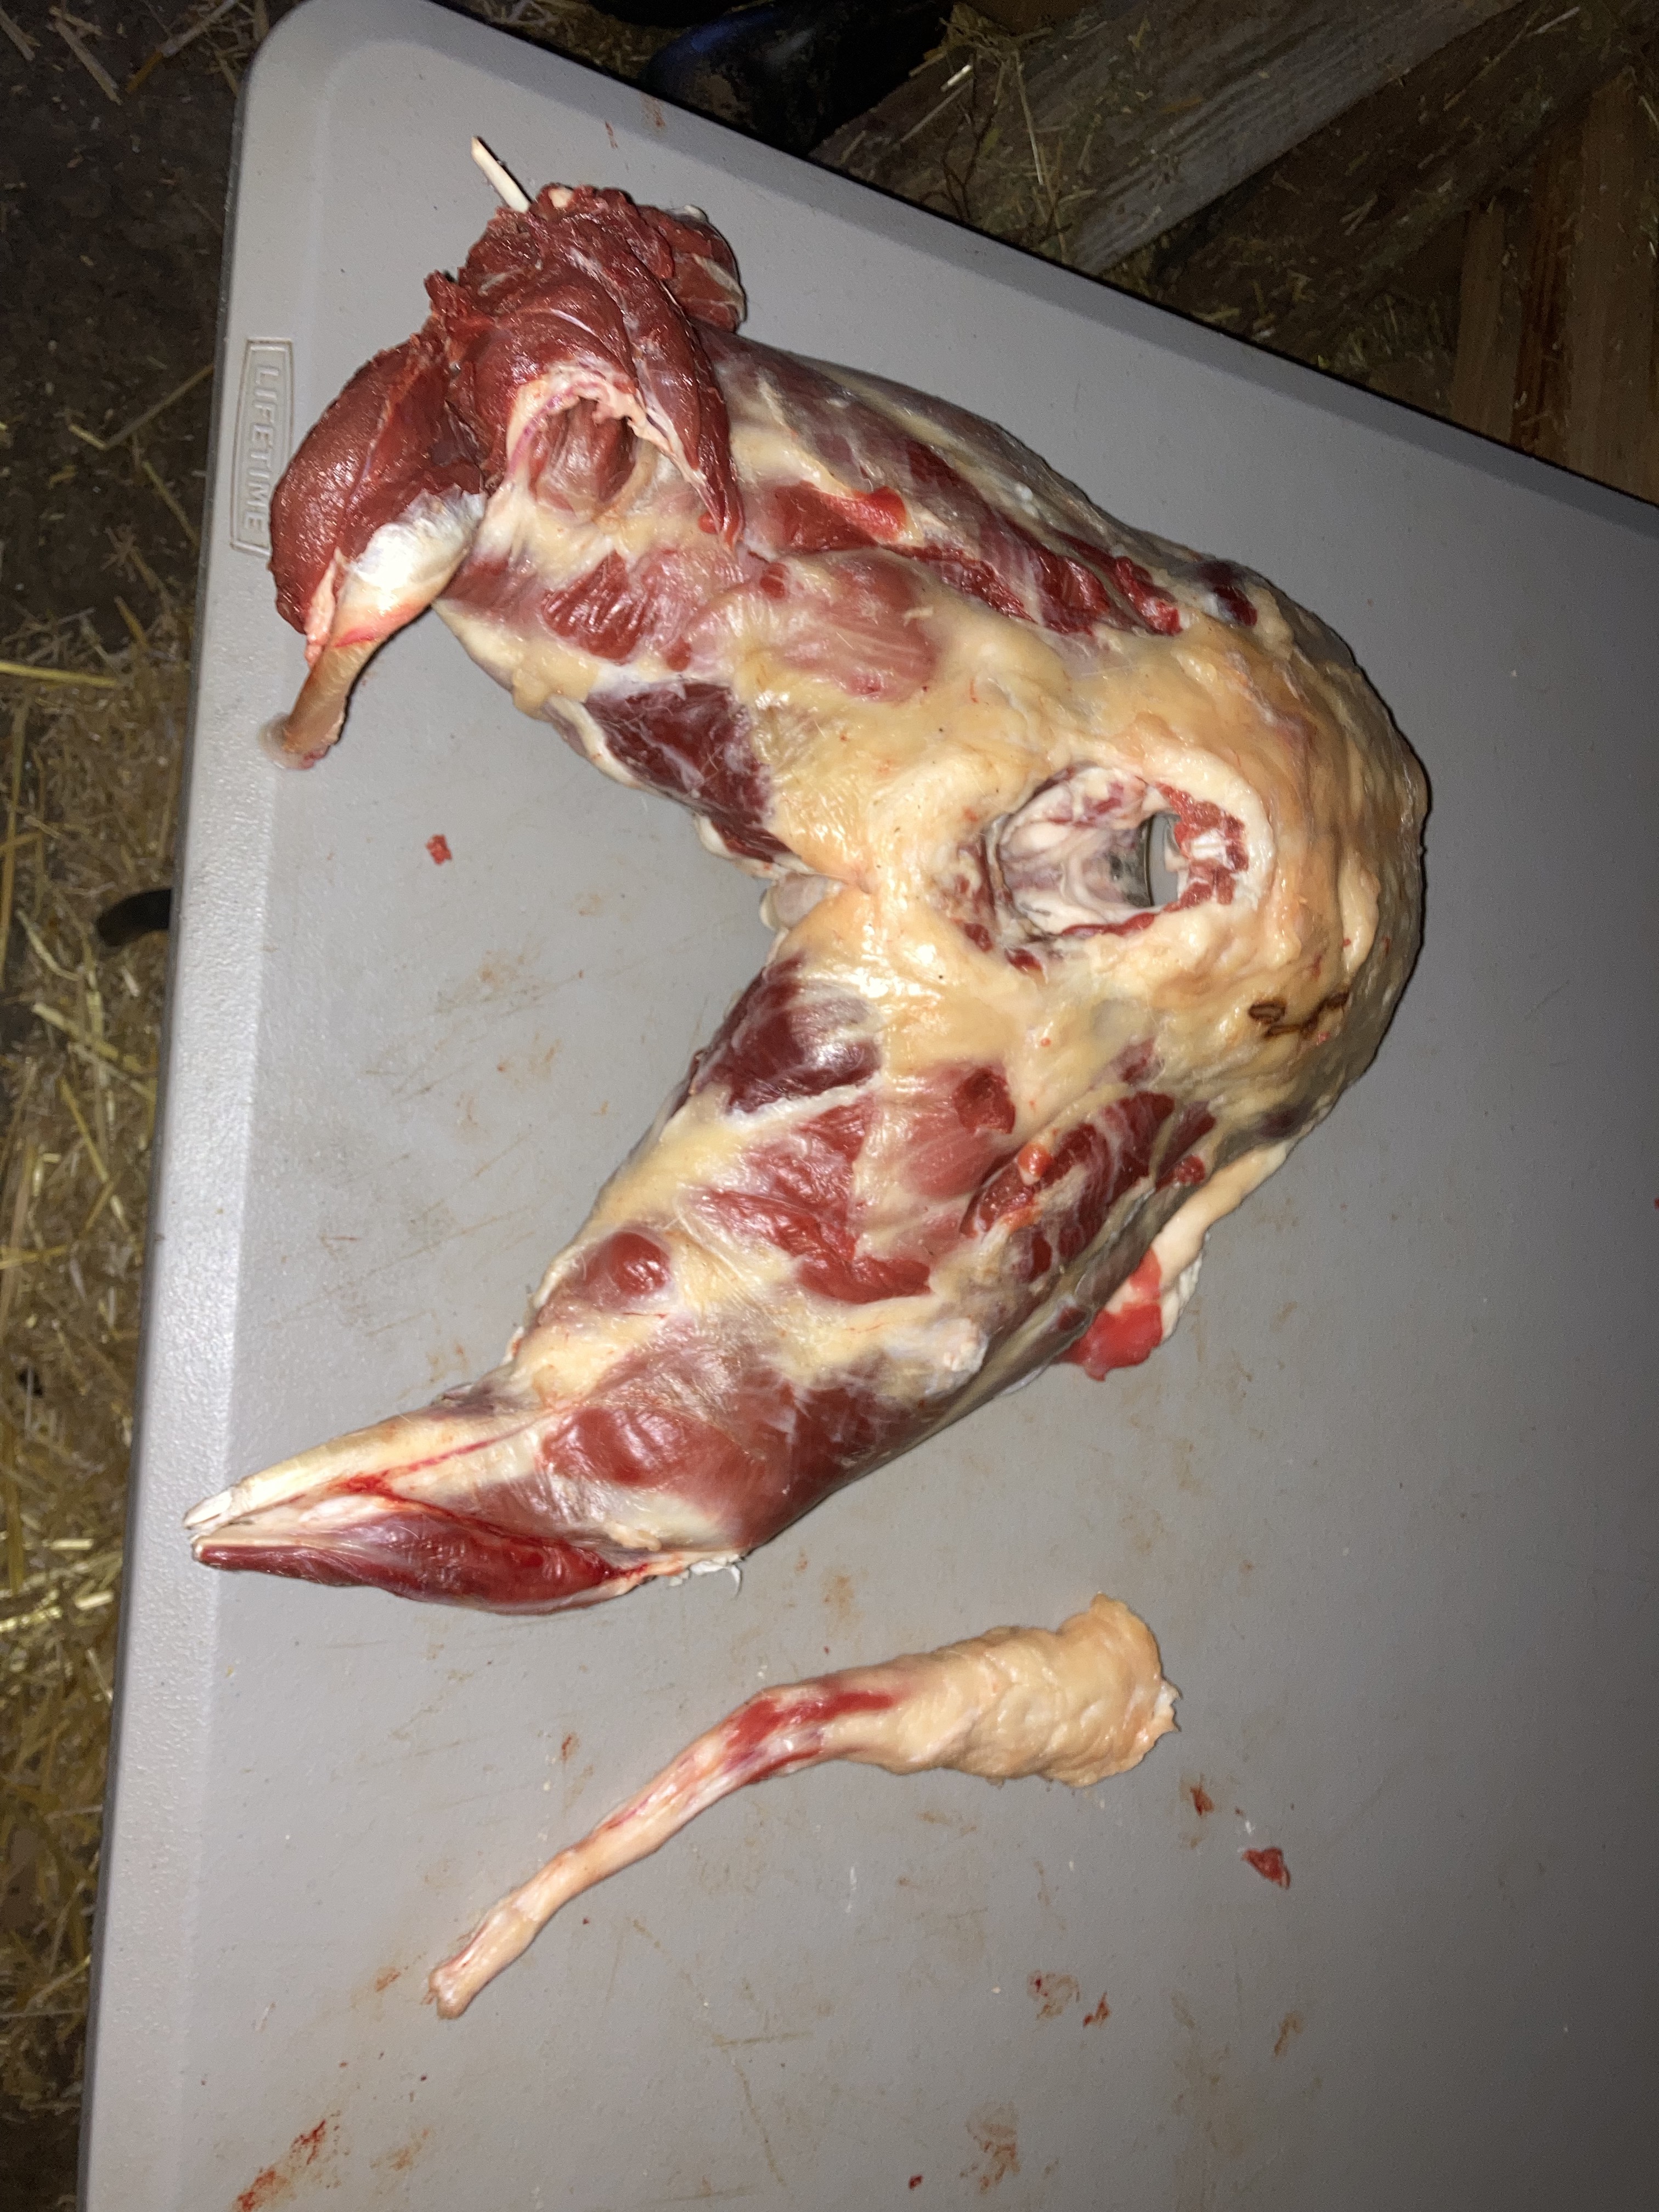
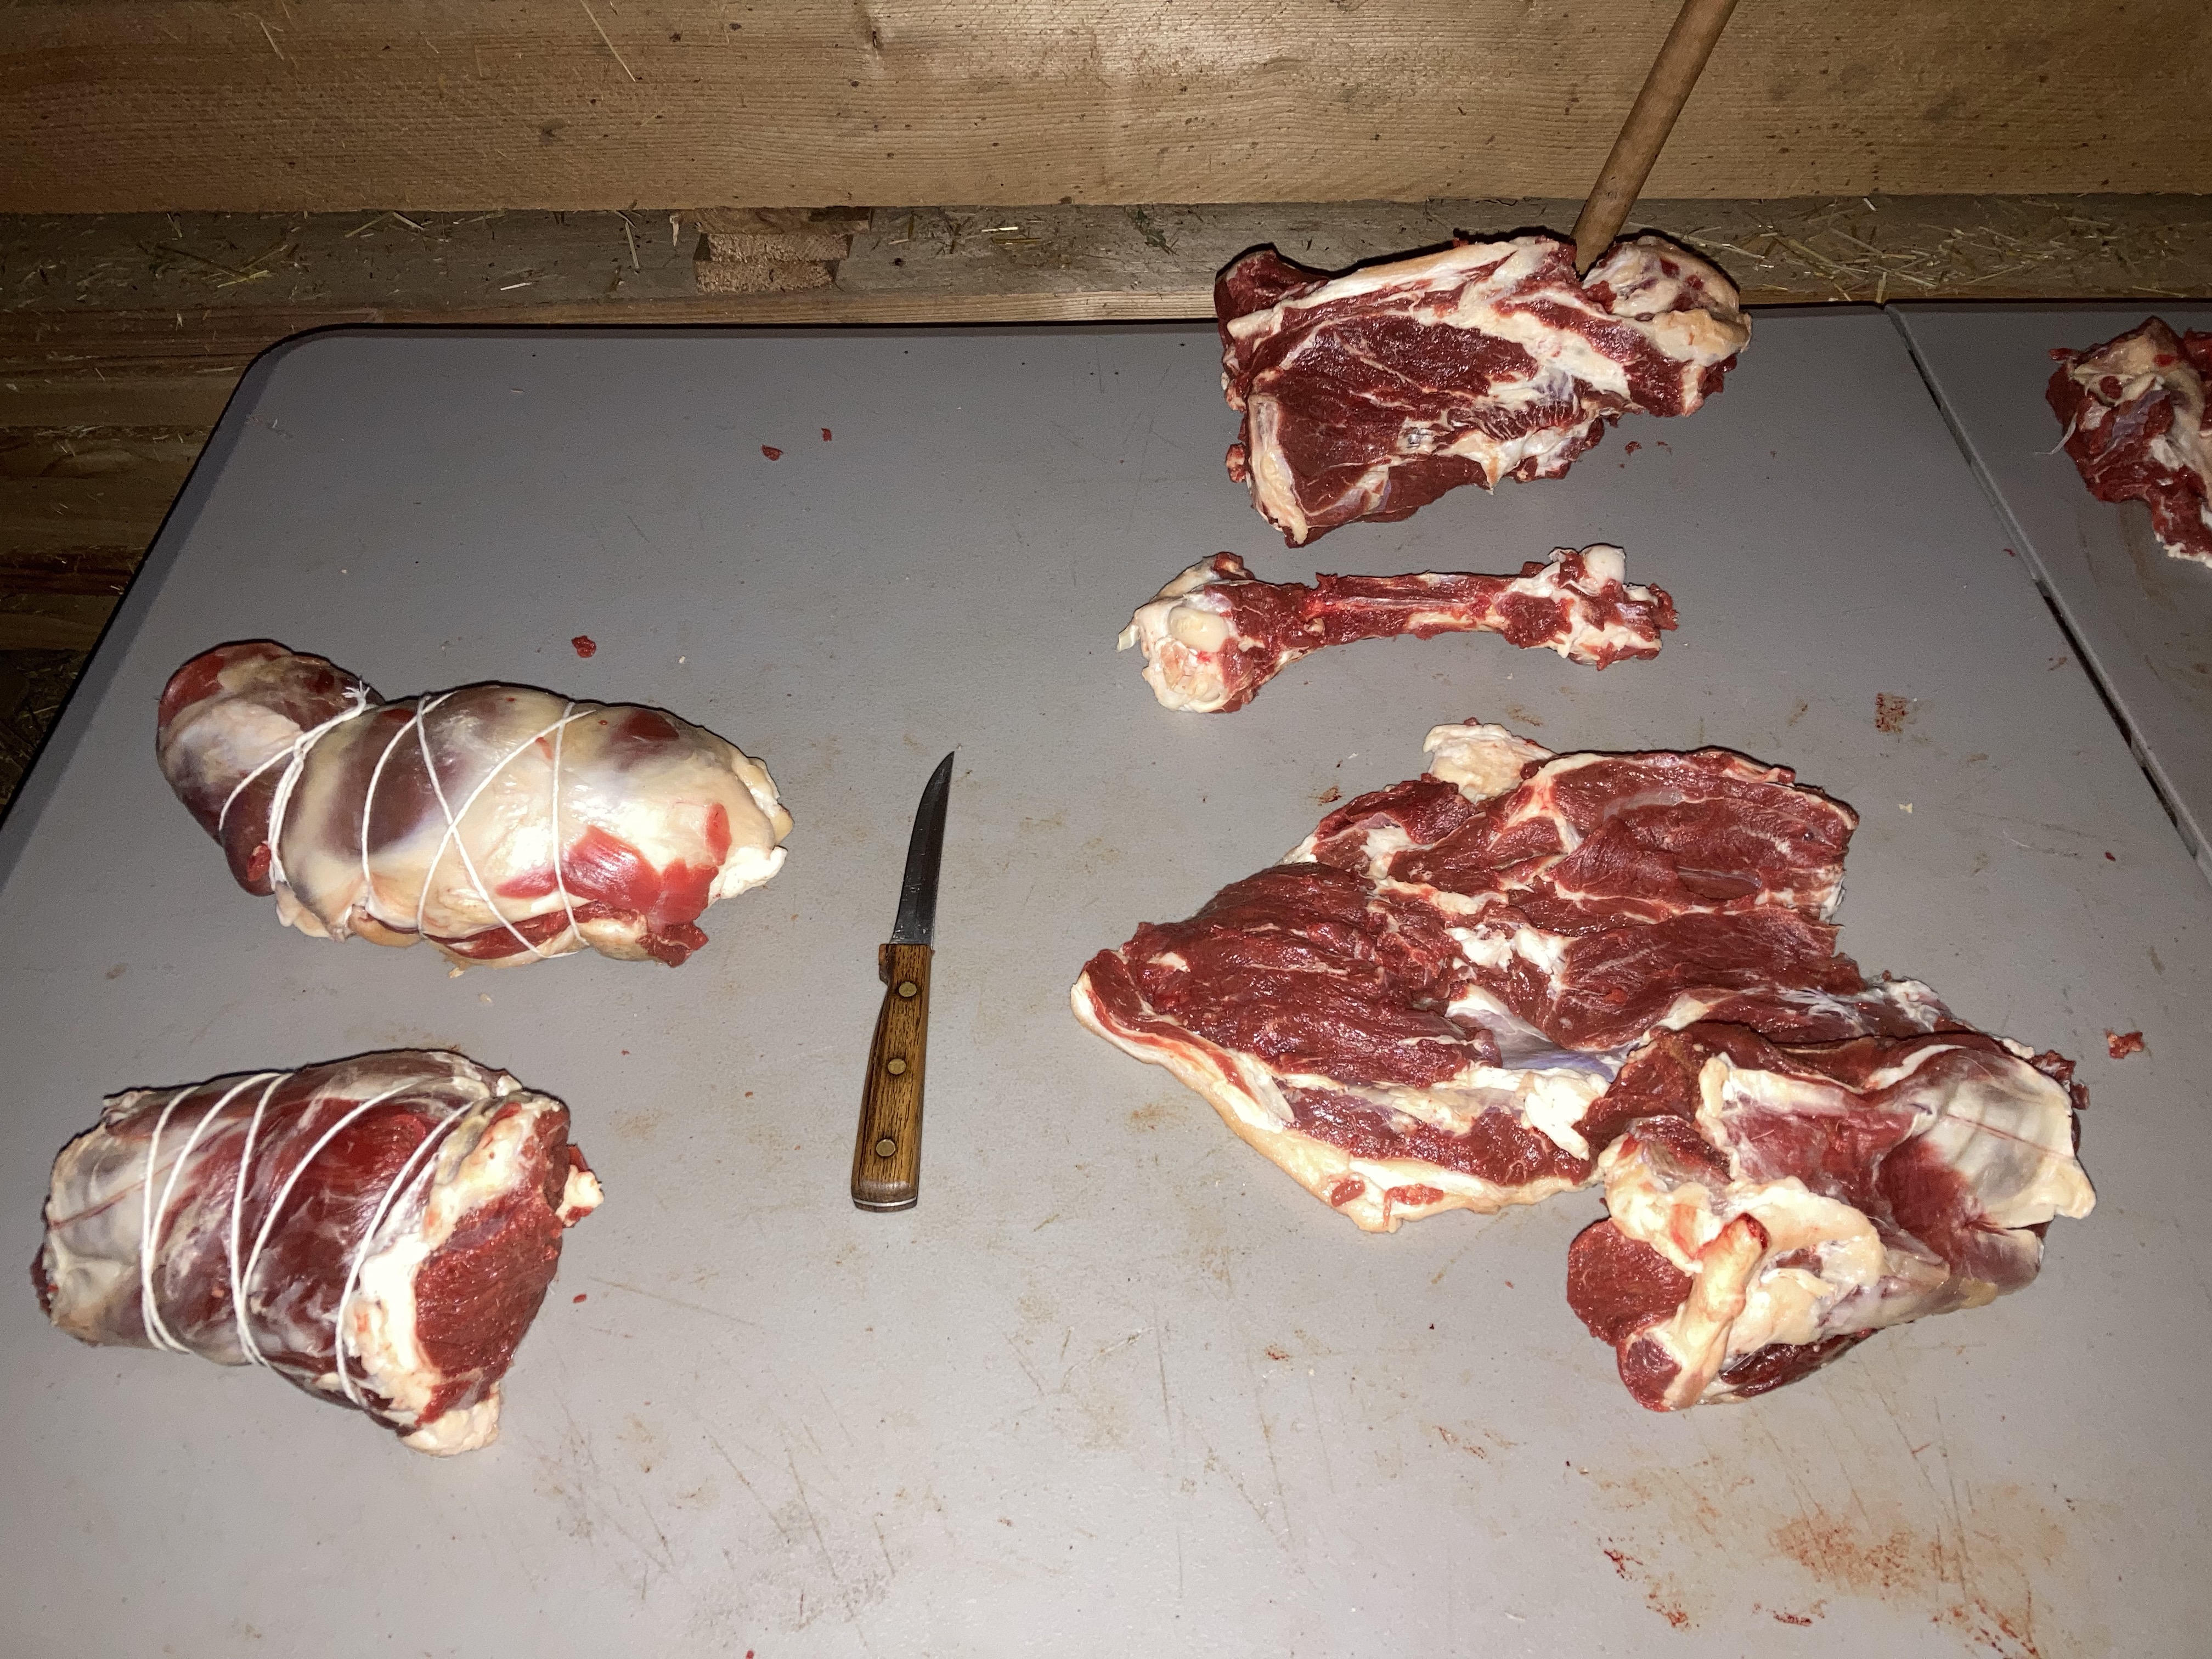
Shoulders are always challenging- especially a scapula. It’s worth de-boning this section to me, as I get a few good stakes and roasts and stock bones for the pot. The wrapped cuts above include the full loin roast with bone in (far right), two back-strap “wing” wraps (top), and two de-boned shoulder roasts (bottom). After wrapping the first two thirds of the carcass, I’m ready to approach the hind end. The tail is great for beans or stock. If you have a band saw or bone saw, cut the pelvis right down the middle. If you’re like me and prefer detaching legs at the hip and taking pelvis out, do so. I love creating two massive butt roasts off the pelvis. I de-bone the thigh and what I can of the lower leg to make more roasts which I can later cut into thick stakes if I want. the lower leg meat and other trim can go in grinds. All bones go to stock pot. Generally- you unwrap the meat from the bone, the re-wrap the meat into a roast and tie. I’ve got a lot of good kitchen twine on hand, along with plastic shrink wrap, butcher paper (on a large roll), and freezer tape with black permanent marker to label everything.
Discover how easy and satisfying butchering your own meat can be- and having the close connection to your food and the energy it takes to bring this wonderful bounty to your table. It’s been an intricate part of our larder for almost a decade now, and we’re passionate about helping other discover the reward of local food and personal process in feeding yourself, family, and friends. At EEC Forest Stewardship, we raise the lambs, tend the land, and harvest the abundance that comes from cultivating deep relationship with place. We’re working hard at home and locally with friends and neighbors to produce wonderful pasture sheep for meat and small flock development. EEC offers field to freezer instruction and support for local food and slow food enthusiast.

Thank you for a fascinating share of information!
I shall never forget what I have learned because of your generous and complete writing.
LikeLike